
Another week in France, another heatwave. The third one in a couple of months, in fact. The garden was wilting, the attic was boiling, and the to-do list was as long as ever. Time for a long overdue update from the townhouse.
A Garden On Life Support
Let’s start with the patient. Months of hot, dry weather had left the garden in a sorry state. We’d been watering for around an hour every single morning, and it wasn’t even doing a good job. Most of the water ends up on the leaves rather than at the base of the plant, which turns out to be a marvellous way to spread fungus and disease everywhere. Lovely.
With Romy away in London for work (conveniently missing the horrible temperatures), I hatched a little plan: install the drip irrigation system we’d been talking about for ages, and surprise her with it when she got back.

Drip Irrigation 101
Forgive the naive explanation, because this was new to me too. Drip irrigation is exactly what it says on the tin: tubing with small holes that delivers a slow, continuous drip straight to the base of each plant. The moisture seeps properly into the soil, the leaves stay dry, and you use a lot less water than standing there with a hose. What’s not to love?
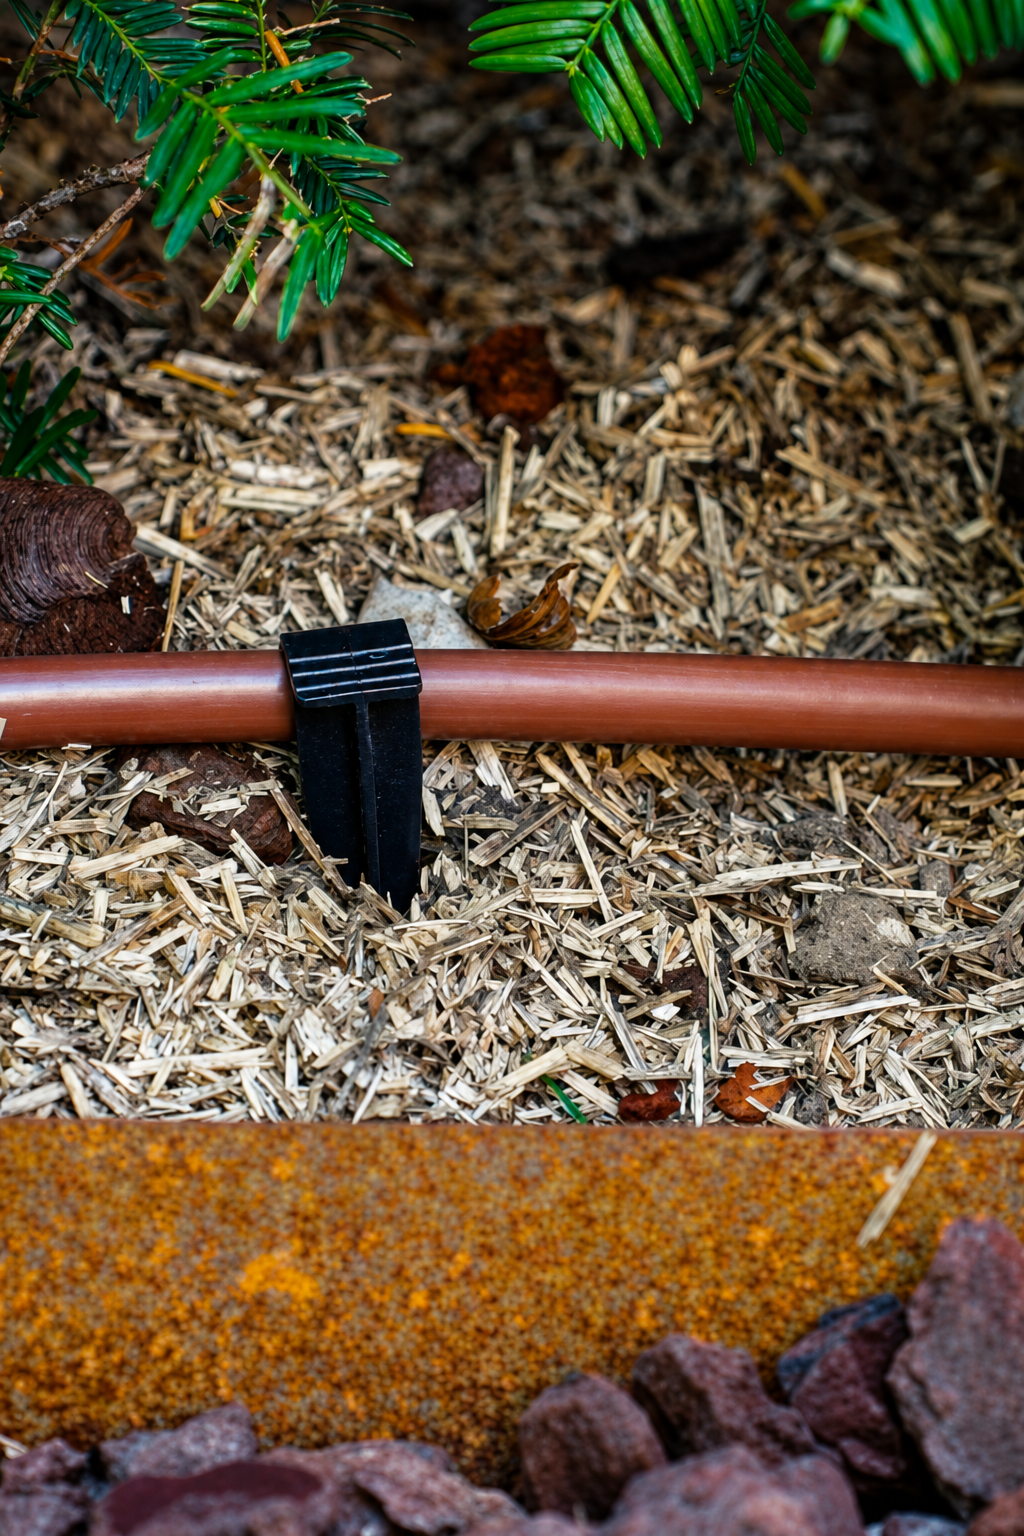
There are two types of tubing in play. The first has drippers already integrated at a set spacing, which is perfect for the hedging and the densely planted front border. The second is the same 16 millimetre tubing but plain, so you can punch holes exactly where your plants are. That makes it ideal for the vegetable patches, where you want every drop aimed right at the roots.
Mistakes Were (Of Course) Made
Day one ended early because the garden turned into a furnace, and day two began with a confession. I’d laid the integrated-dripper tubing all around the front because I thought more coverage could only be a good thing. Turns out that evenly spaced holes are great for evenly spaced hedging, and rather less great for a cottage-garden jumble where the plants are anywhere but evenly spaced. Rather than ripping the whole thing up, I ran smaller dripper lines off the main tube to reach the thirsty stragglers.
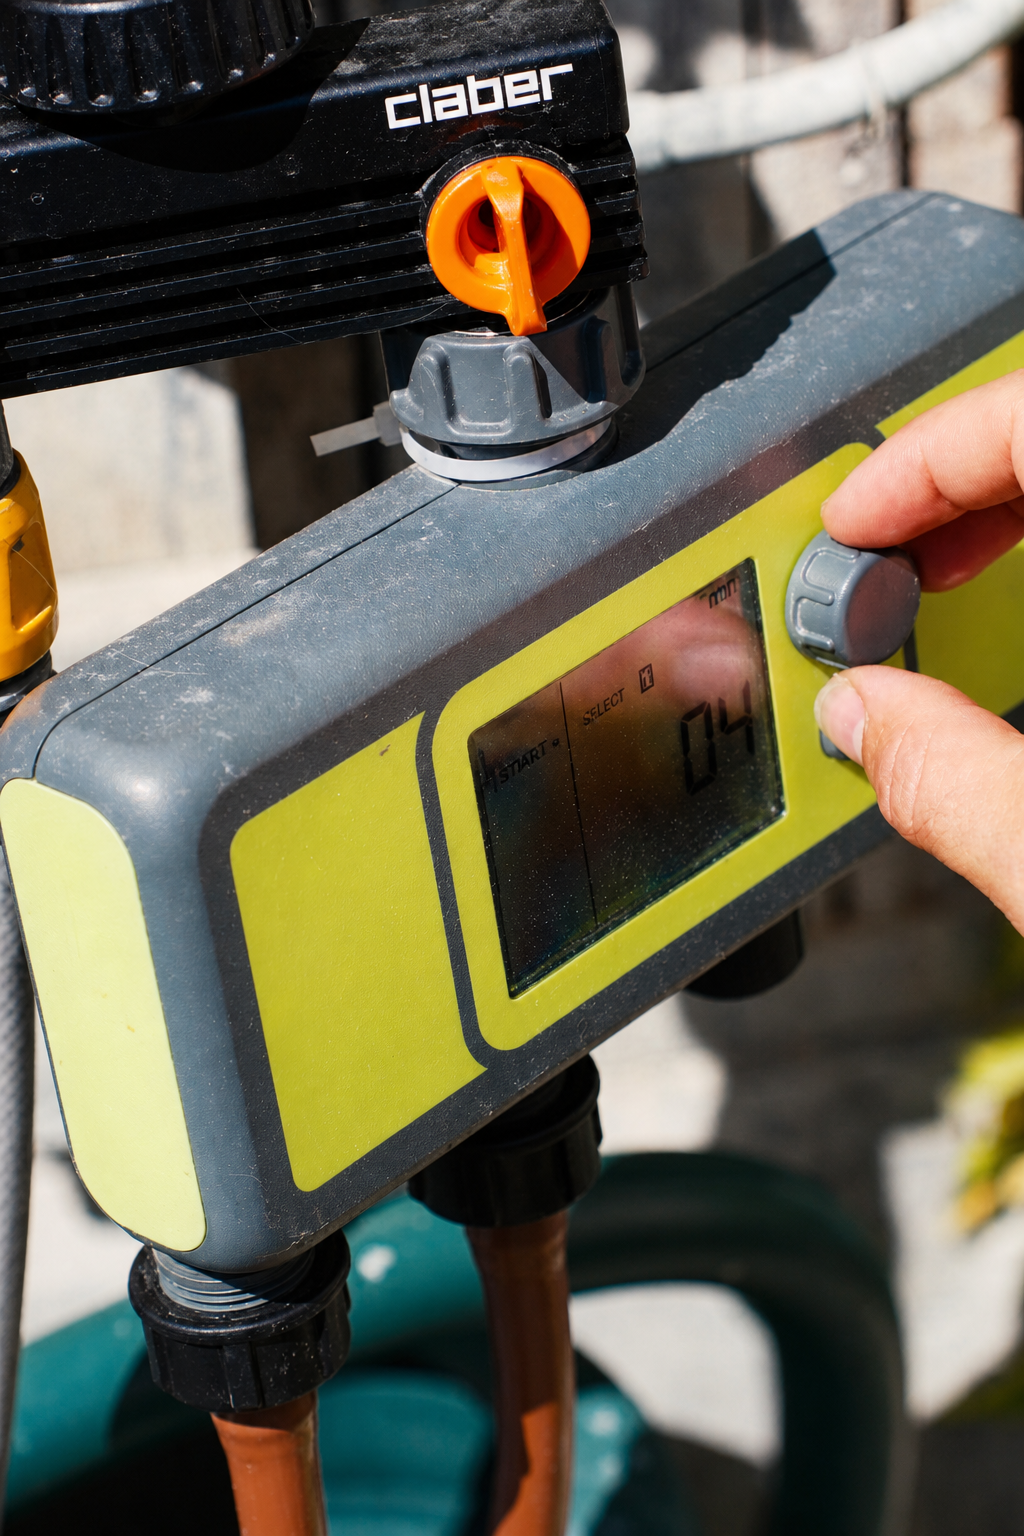
To finish the job, I added an electronic programmer at the tap so each zone waters automatically in the morning. Drip irrigation runs at a lower pressure than the tap, so each zone can only cover a certain area before the pressure drops too far and the water gives up.
The Verdict
A week or so on, the jury is in: it works. The hedging is actually putting out new growth again, which tells you how hard it was to get water down to the roots by hand. Romy came home to a garden that waters itself before we’re even awake. I never made it to the back garden in time, but I’m reliably informed it was still a great surprise.
The biggest win is getting our mornings back, with no more hour-long watering shifts before the day even starts.
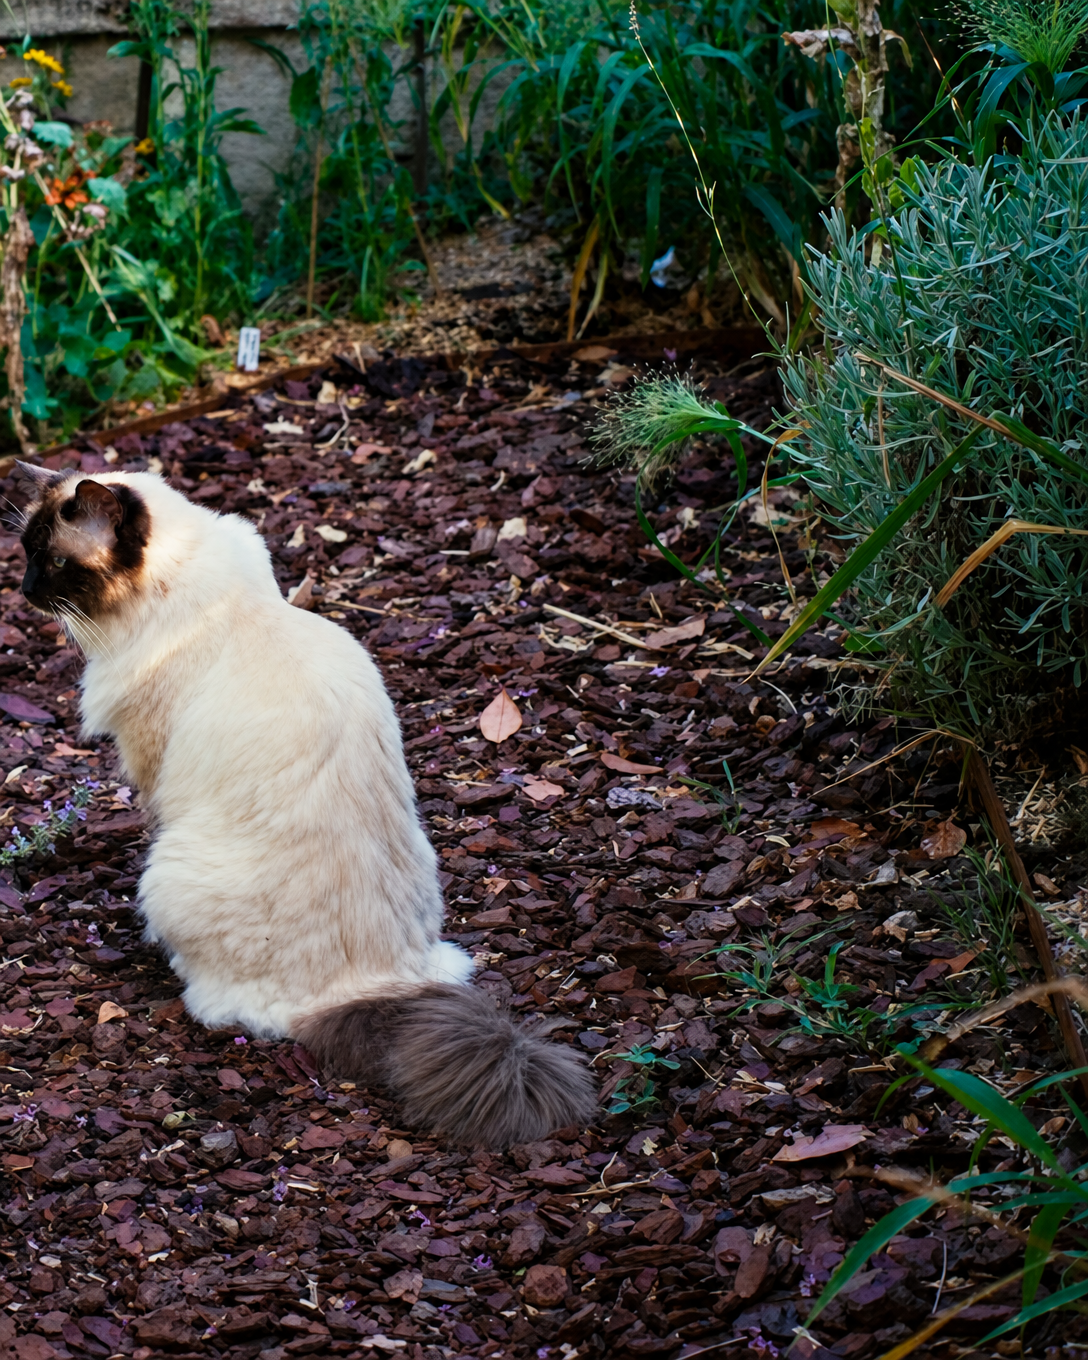
Oh, and Phoebe is obsessed. Something about the sound of the drippers has her convinced there are mice hiding in the flower beds. She goes absolutely crazy for it.
Back Up To The Boiling Attic
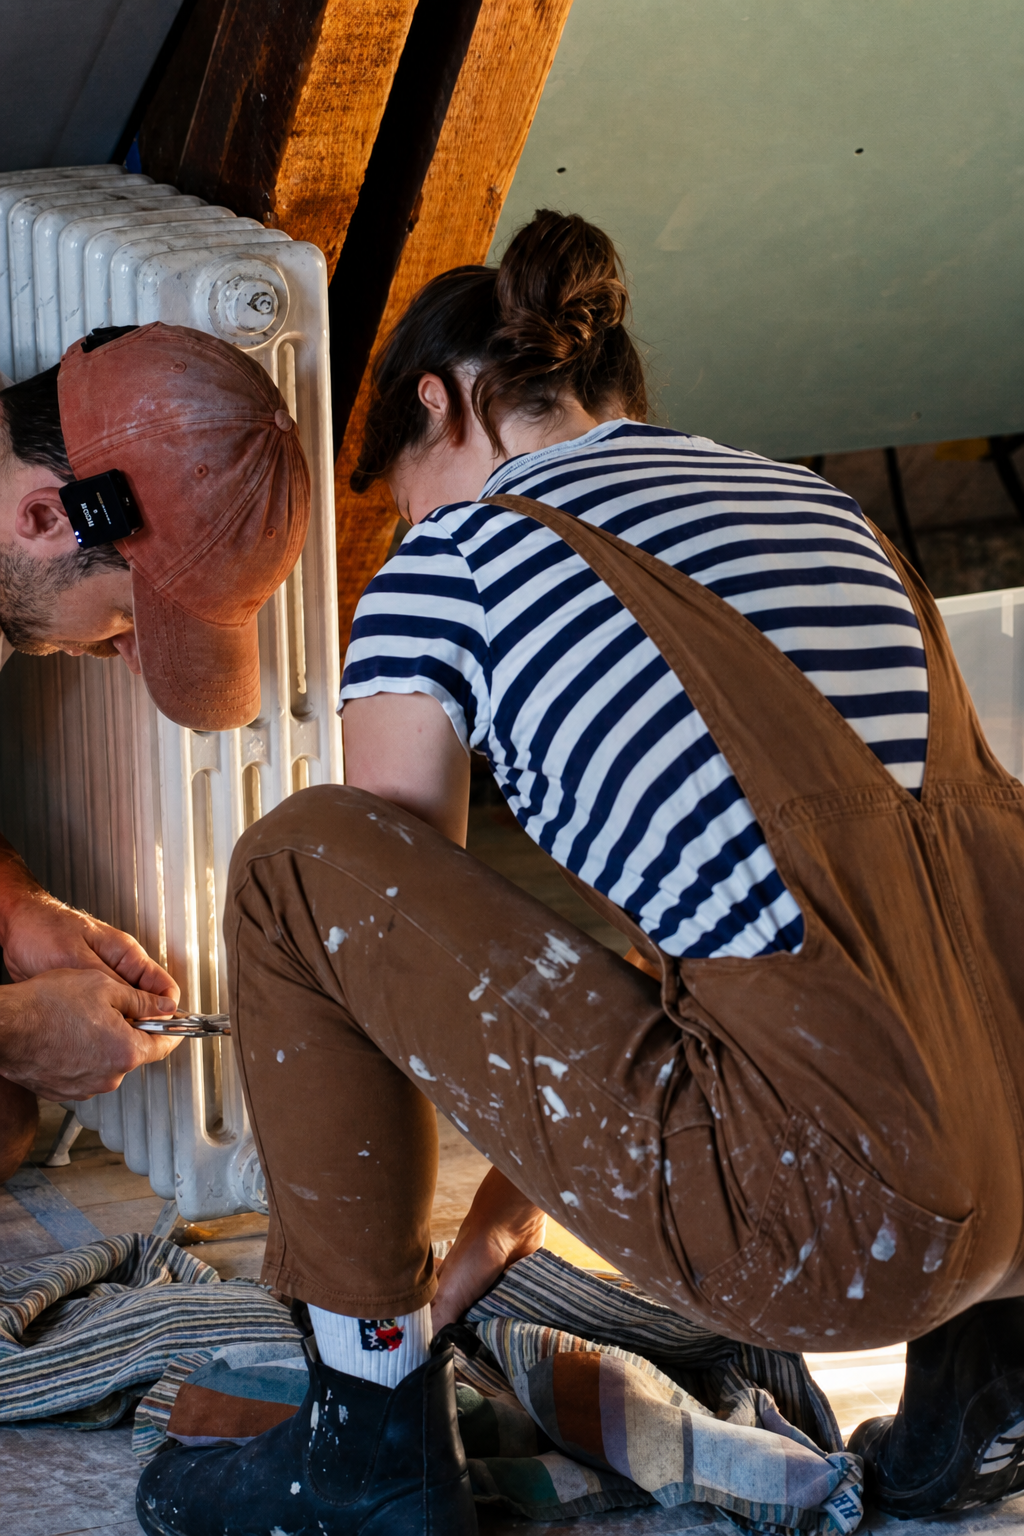
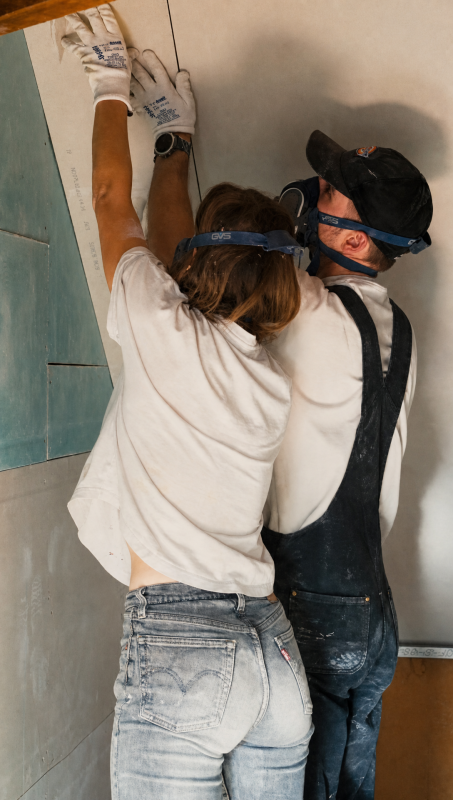
With the garden saved, it was back up to the attic for yet another heatwave. This time I had help, because the first job was very much a two-person one: getting rid of the old cast iron radiators and moving wiring and plasterboard to match the new wall placements.
The radiators are going because we’re putting in AC, which will double as heating in the winter, so they’re not connected to anything anymore. They are, however, still full of water and outrageously heavy. If anyone in Bordeaux fancies some free cast iron radiators, they’re all yours, as long as you’re willing to come and carry them out. We speak from experience: bring a friend.
The Wall With A Mind Of Its Own
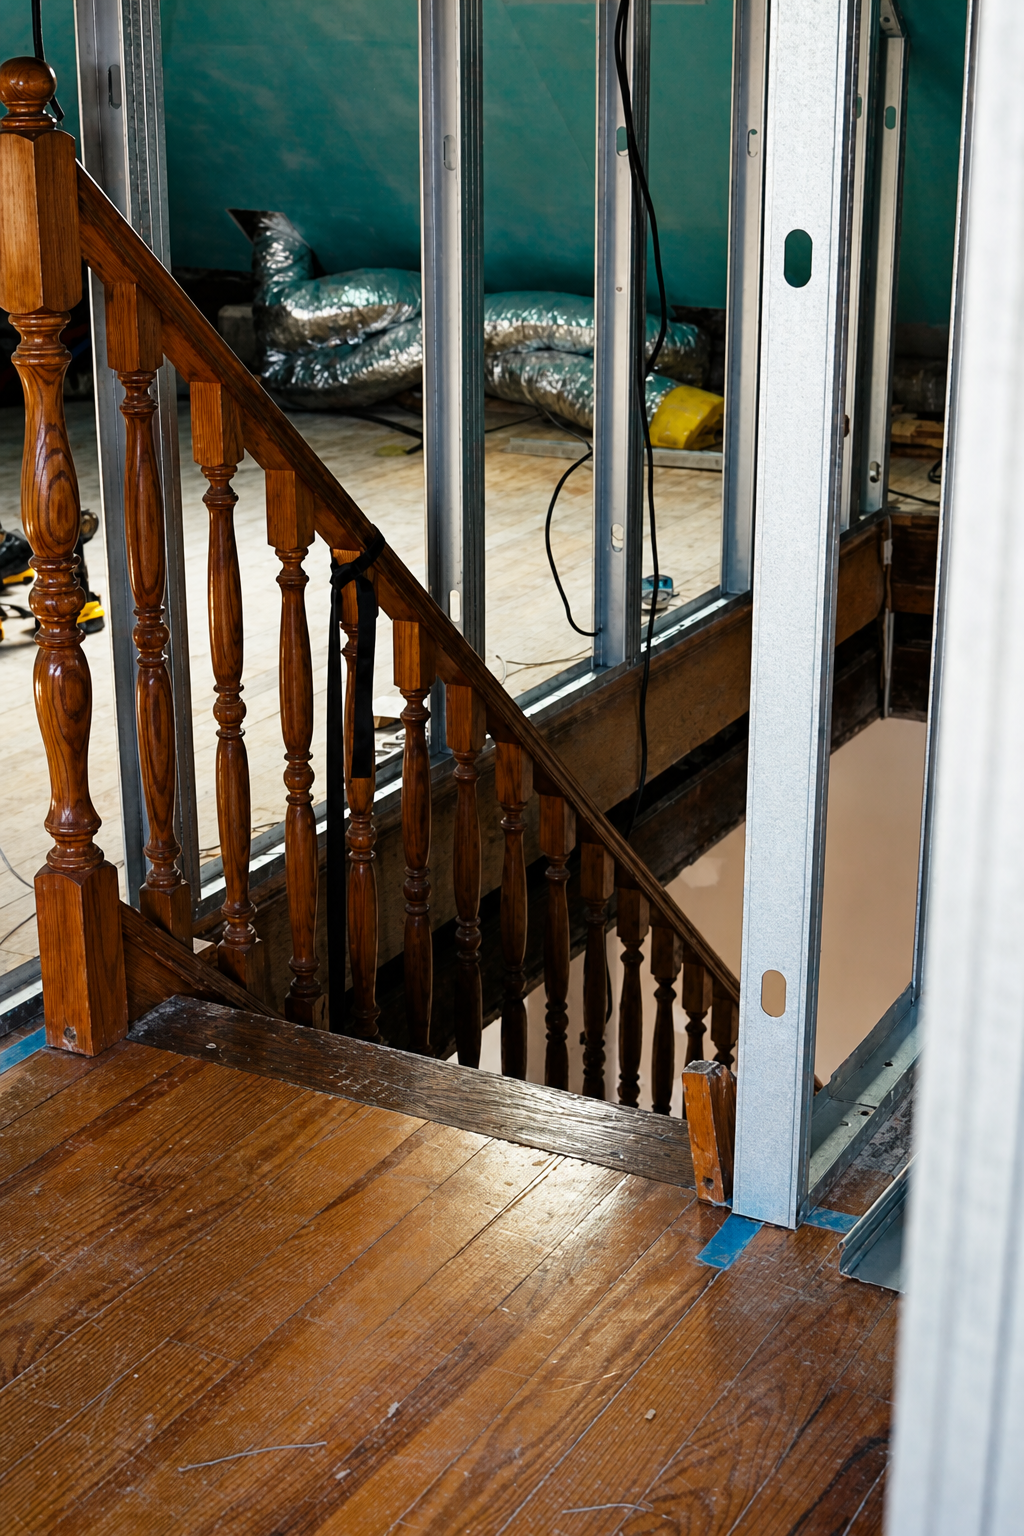
Then we hit a problem, though not a big one. The wall that follows the staircase, which we can’t modify, turns out not to be parallel with the outside facade. We only discovered this after measuring out the gap for the bathtub and checking it with a laser level. It is, to use the technical term, not level at all.
So a decision had to be made: keep the new stud wall perfectly level and live with a wonky gap, or follow the staircase wall so the room stays parallel and the bathtub gets proper square angles. We went with following the wall. It means every vertical stud needs its own slightly different cut, and one wall will be ever so slightly inclined, but in an old house full of beams, nobody is going to notice.
The decision was made by Romy, who hadn’t worked a Saturday on the house in months, turned up, made one executive decision, and disappeared again.
Dreaming Of The Finished Bathroom
Progress upstairs was slower than we hoped. A lot of time went into getting the bathroom placements right, making sure the walls, the bath and the evacuation all line up. It’s not glamorous work, and by the end of the day the heat had wrung us out completely. But this is the stage where mistakes are cheap and changes are easy, so we’d rather sweat the details now.
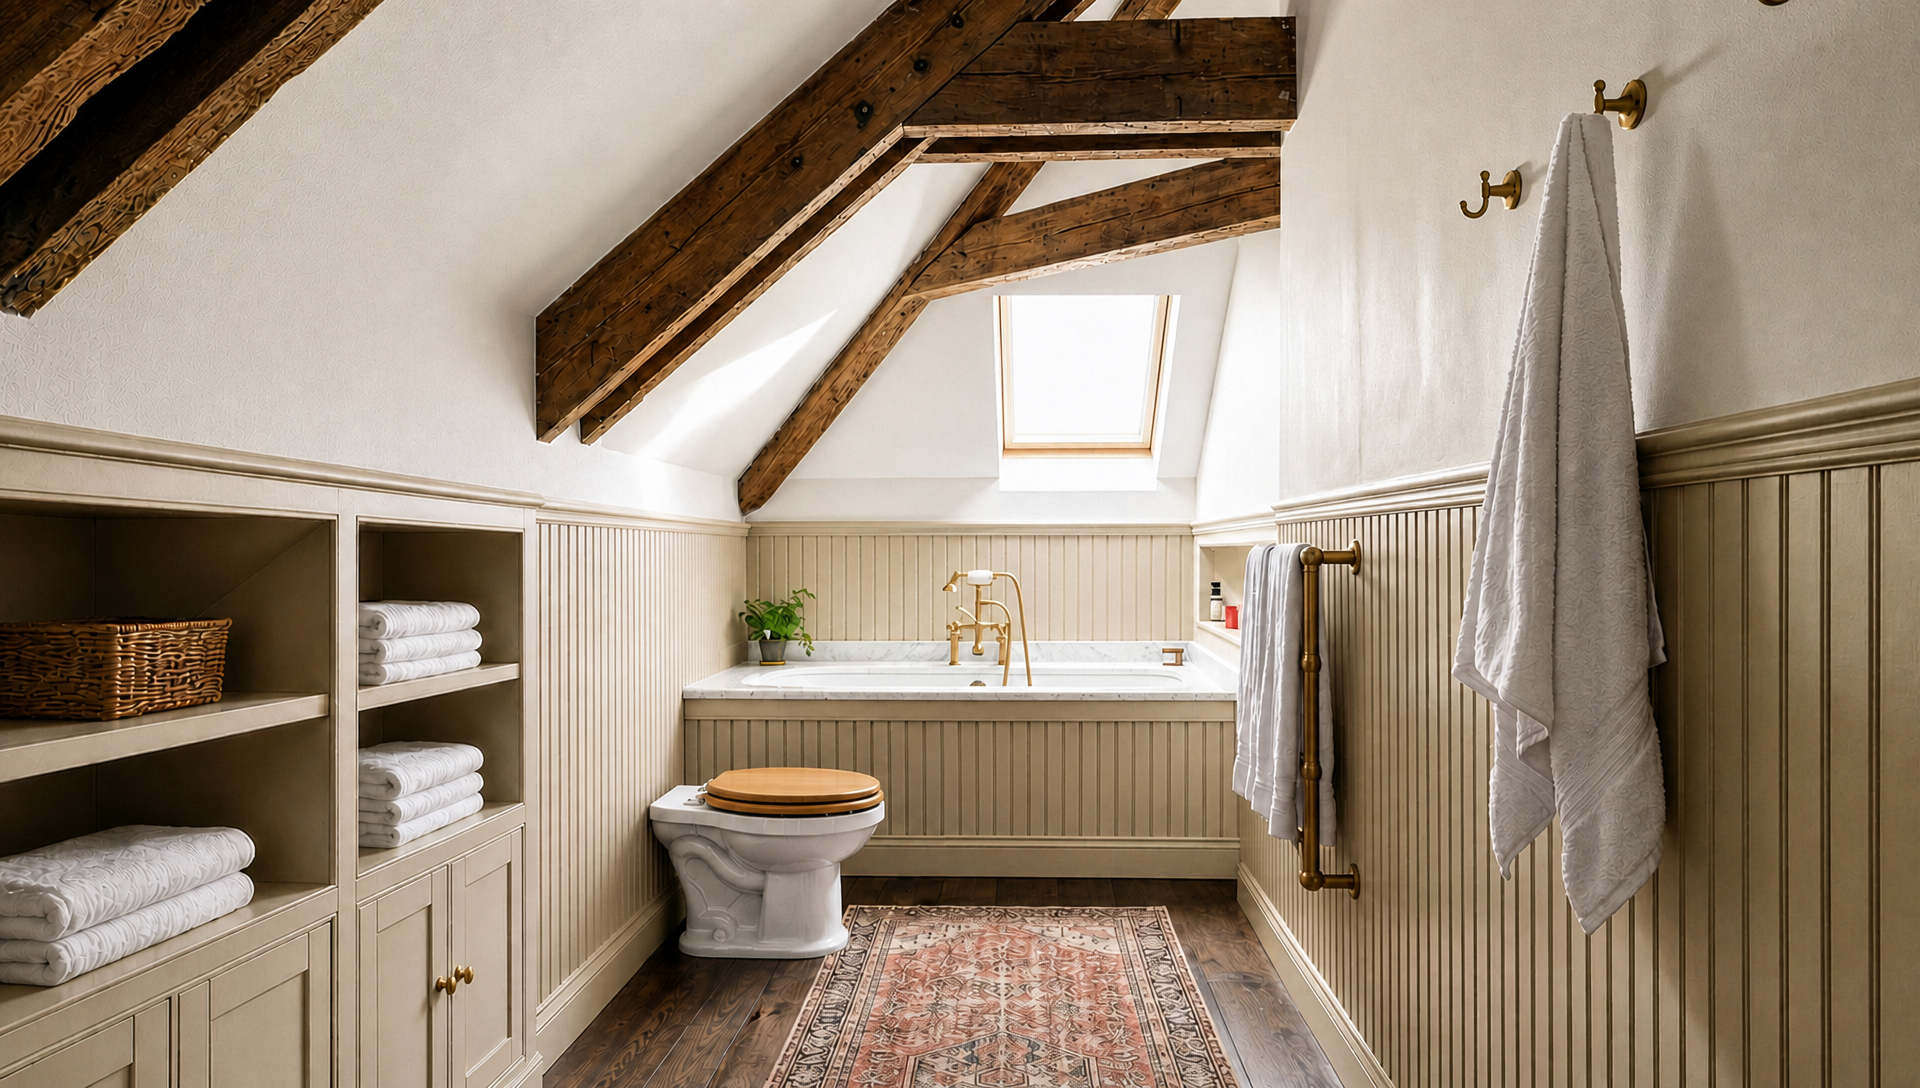
There’s still a false wall to build and a slope to sort for the bathroom’s evacuation, and then comes the bit I’m dreading: that horrible wood fibre insulation again, plus running the electrics through all of it.
What’s Next
The electrician is on holiday, so the attic is going on pause for a little while. There are plenty of other projects waiting on the bottom floor, and I suspect some of you are far more excited about those than watching us sweat between metal studs for another episode.
If you want to see the irrigation install, the radiator wrestling and the great wall debate in full, the video is at the top of this post. Come and say hello in the comments, and if you’re in Bordeaux and want those radiators, you know where we are.

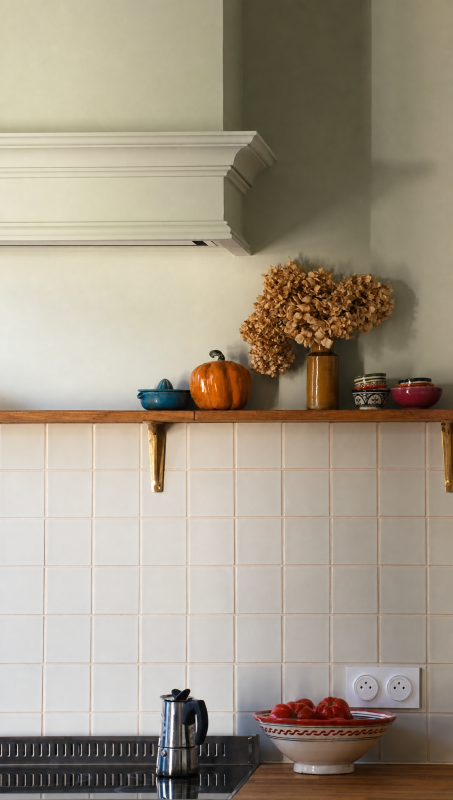
That hood integration looks so clean – great save of the original character.