At the end of the last video I promised a new project downstairs. That was a slight undersell, because it has turned out to be several projects, and over the next few videos we’ll be following them all along. This episode sets them up, and for once we’re not the ones making the decisions. We want your help with the designs.
The Room We Finished First
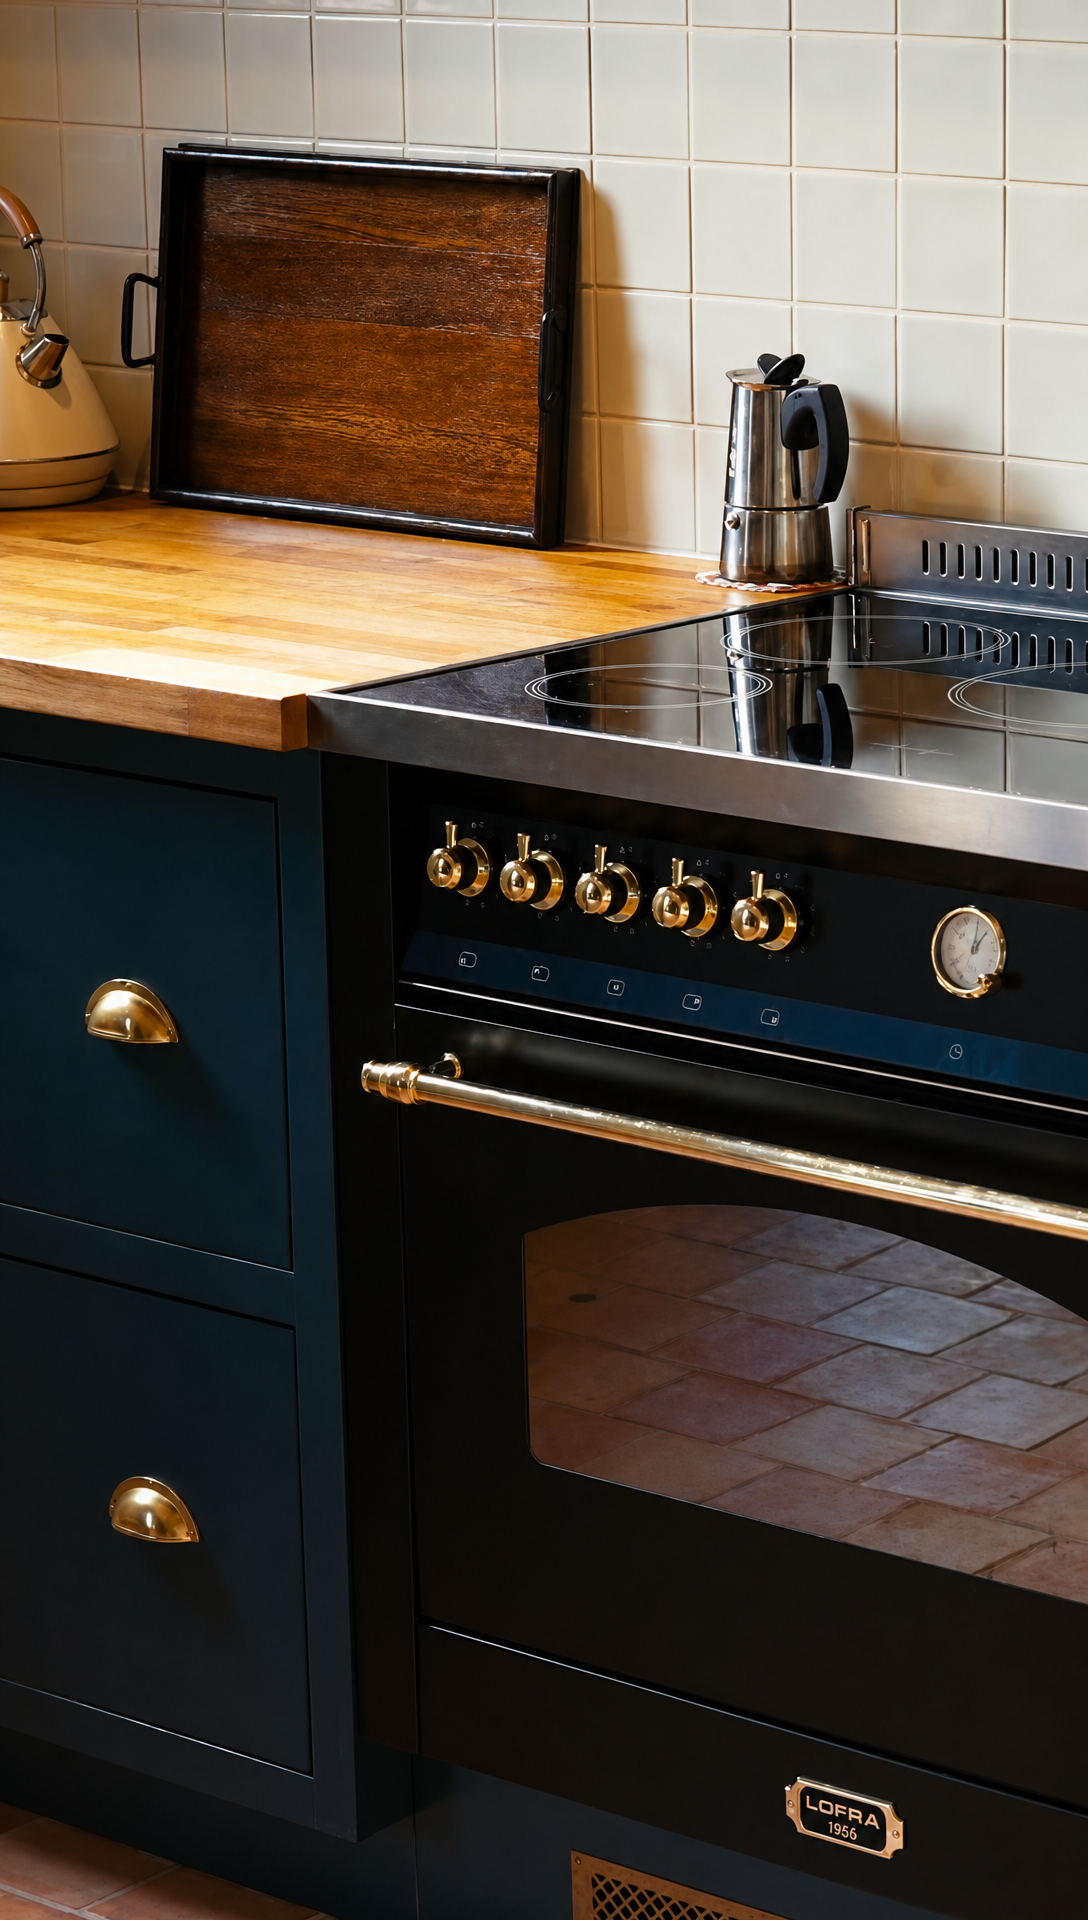
The dining room and kitchen were the first spaces in the house we properly finished. I built the kitchen as my first woodworking project, and Romy laid every one of the terracotta tiles, which took an age because they were so uneven. It was the first room where the two of us came together, did everything ourselves, and finished it to a standard we were really happy with.
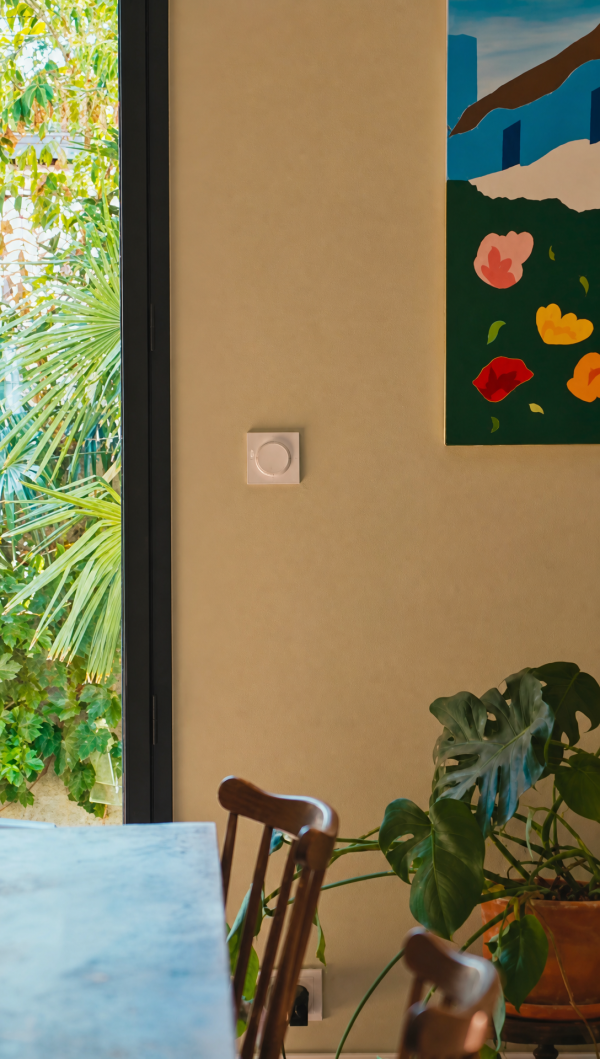
Today it’s the room we love most. Beautiful light all through the day, open to the living room, big and airy. But while it looks good on camera, a couple of jobs in here never made it up the list, because there was always something more pressing somewhere else in the house.
The Pantry Behind The Kitchen
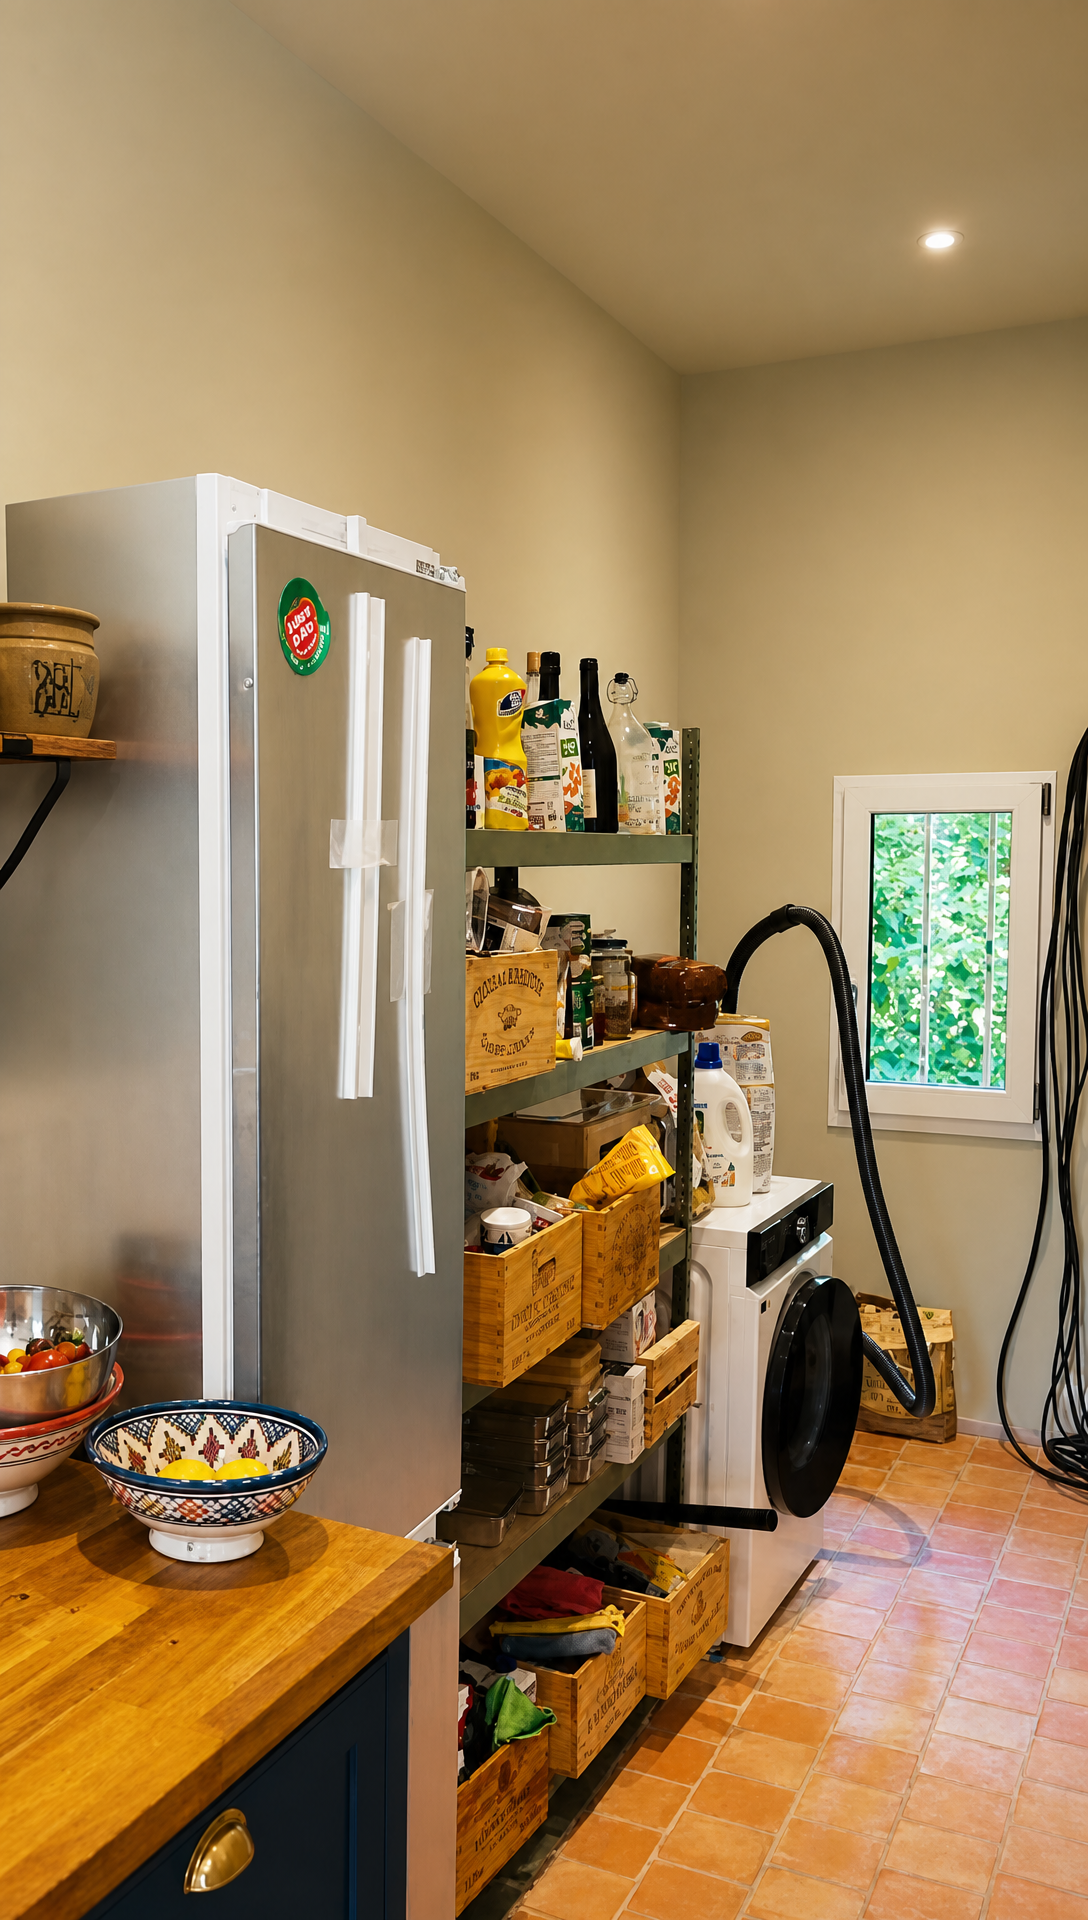
Off the right hand side of the kitchen is the pantry. It used to be a separate little room, which the very first owner of the house supposedly kept as a music practice room. I have my doubts about that story, but it’s the one we were told. Its entrance was through the living room, and we knocked through the wall to the kitchen to make it all one long space.
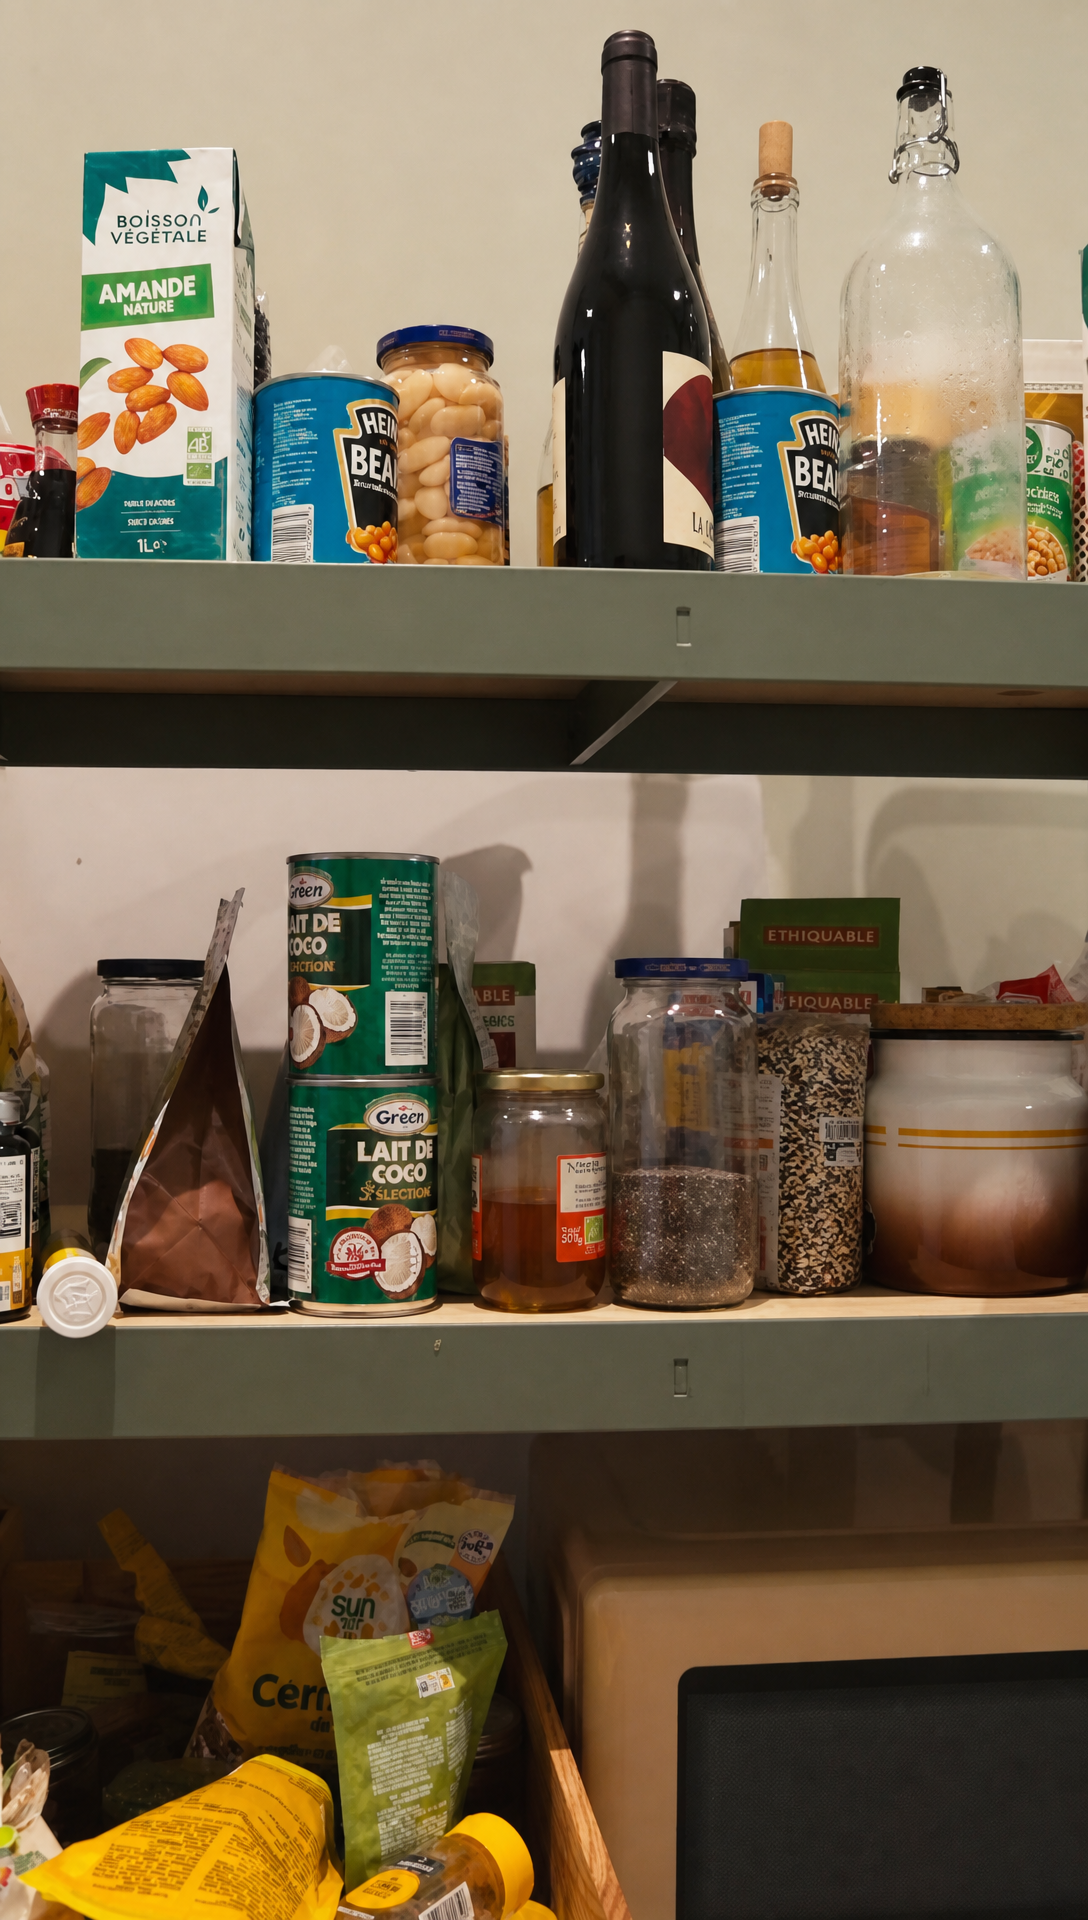
These days it holds our kitchen storage, and it is in a thoroughly disorganised state. Food piled onto open metal shelving, the washing machine at the far end, and beside it the long white electricity meter box with a run of exposed cables. Before anyone worries, those cables are for the attic upstairs and aren’t connected to anything yet.
Rethinking The Design
When we first designed this space, the plan was to surround the built-in fridge with a cabinet in the same style as the rest of the kitchen, inset face frames painted in that big Farrow & Ball blue, and then add two large full length cupboards with built-in storage for all the pantry items.
Living with the space has changed our thinking. The fridge surround stays, but the pantry is a narrow room, and opening a cupboard door in there is a tight squeeze. So the new plan goes open: a long work surface with base cabinets underneath, fitted with open shelving rather than doors, a half height shelving unit mounted over the worktop, and a full height unit at the far end by the washing machine for cleaning products and detergents. The aim is a space that feels like a continuation of the kitchen instead of a cupboard we hide from guests.
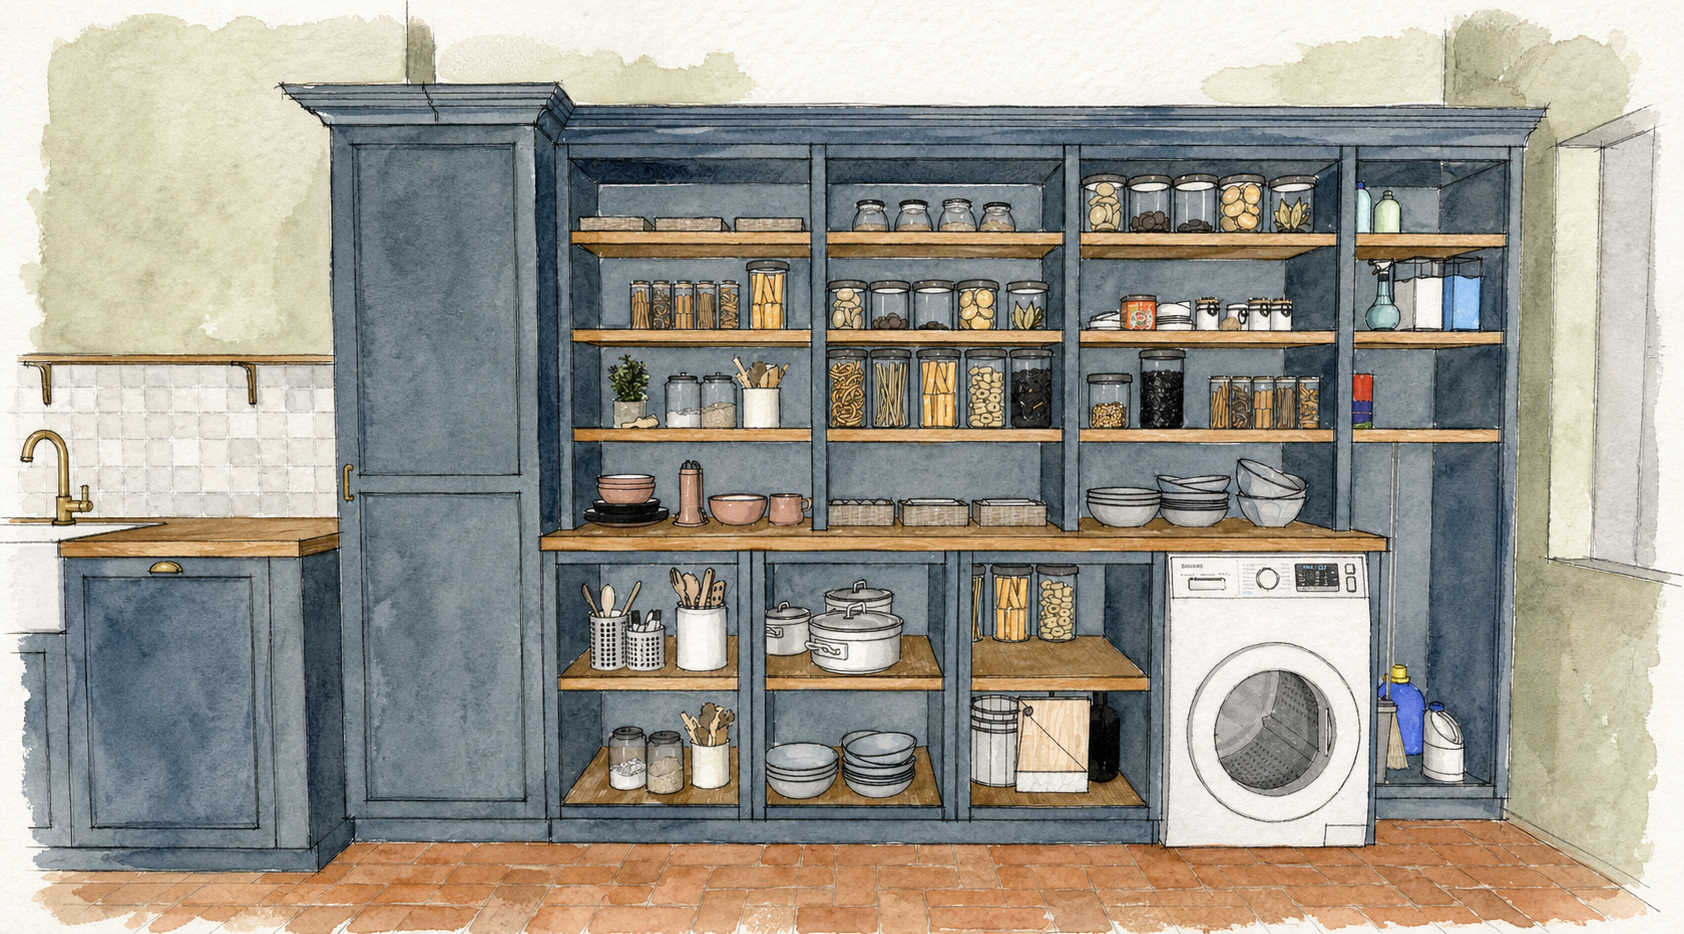
That full height unit at the end looks a little odd on the drawings, and there’s a reason for it. The window on that side sits slightly too close to the wall, so running the countertop all the way along would crash straight into it.
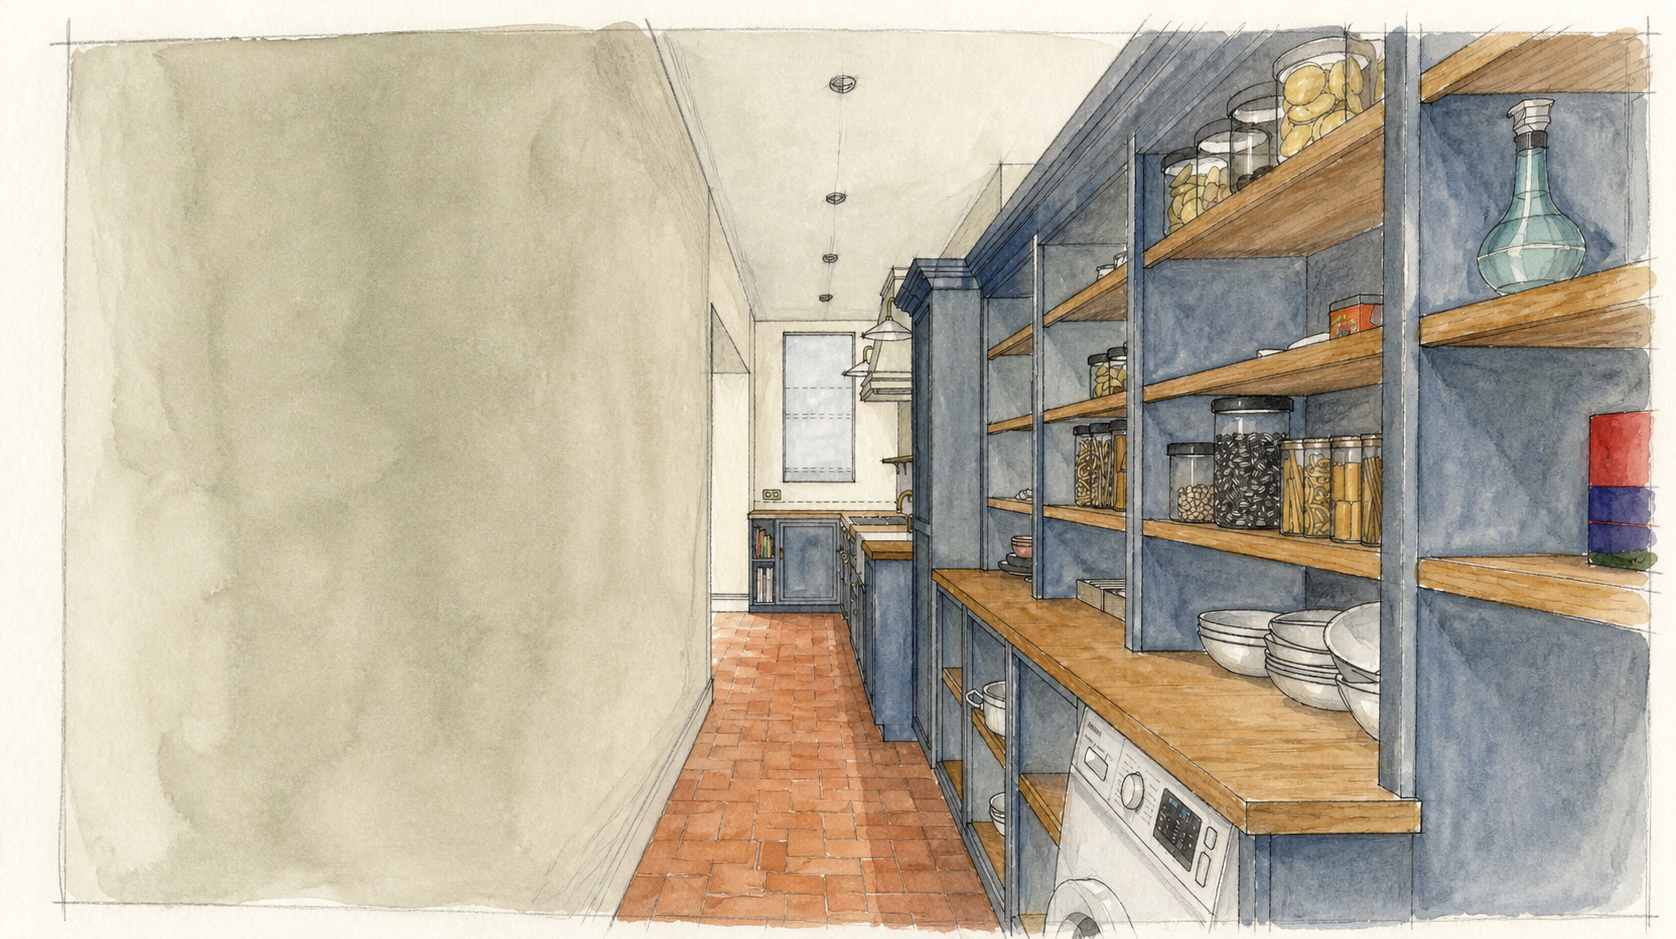
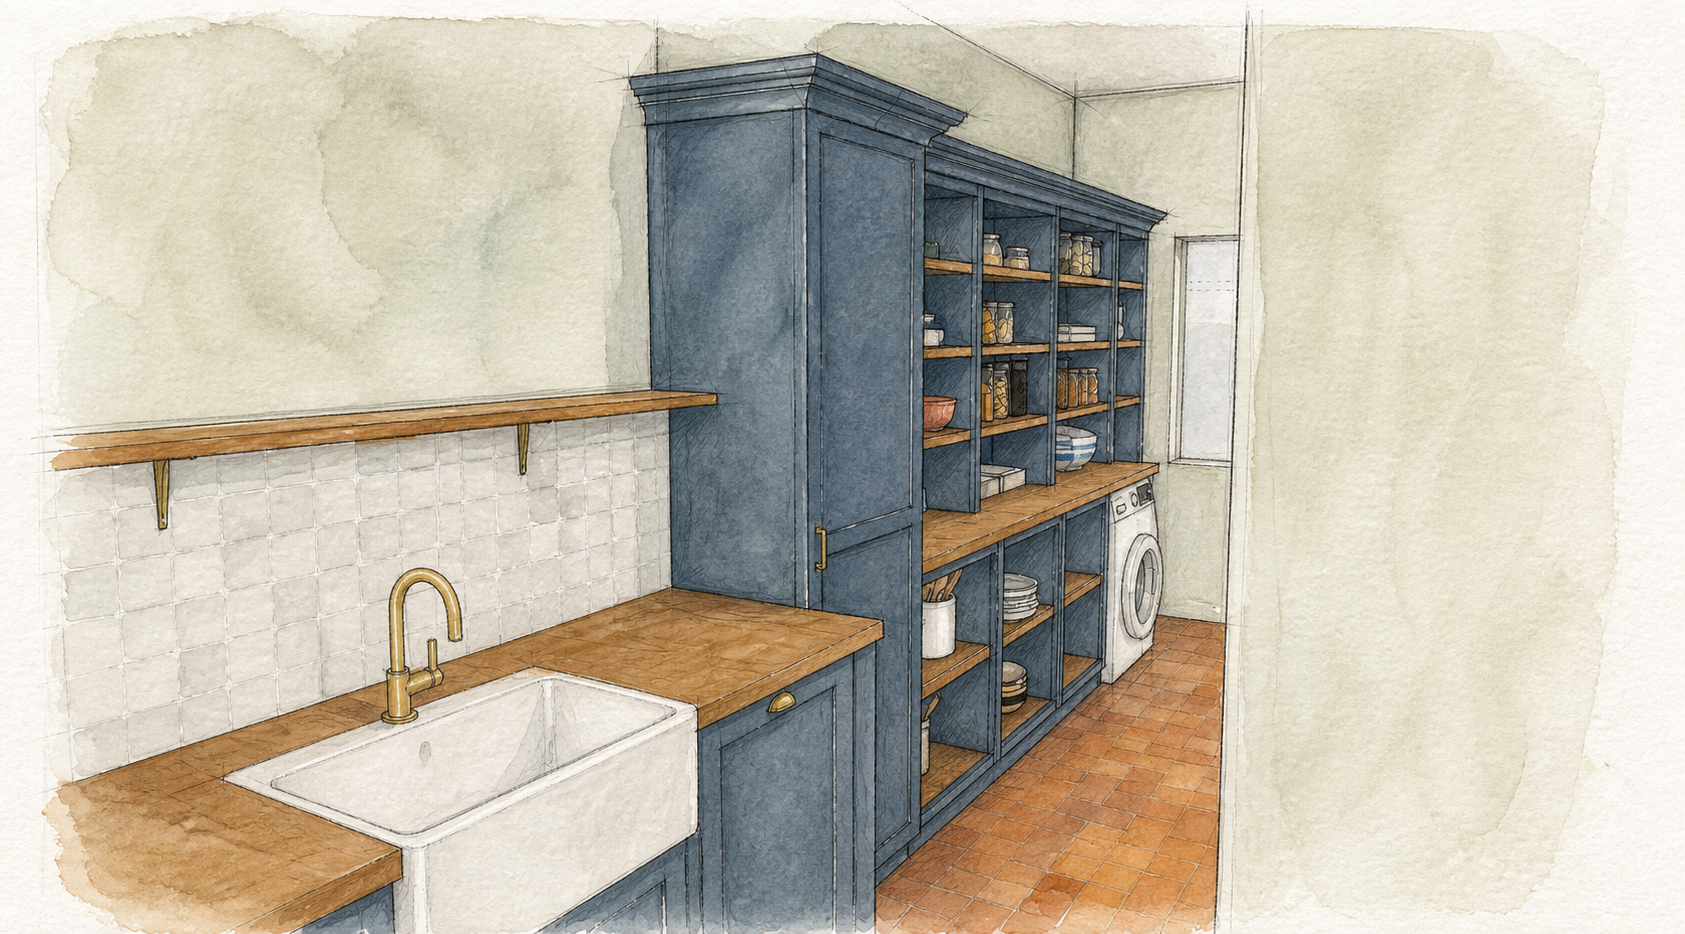
We’d love your ideas on this one. Maybe cupboards aren’t the answer in a space this size, maybe drawers would work better, or perhaps you’ve lived with a pantry arrangement that we haven’t thought of. Tell us in the comments, and in the next video I’ll go through the feedback and rework the designs.
A Hood For The Hob
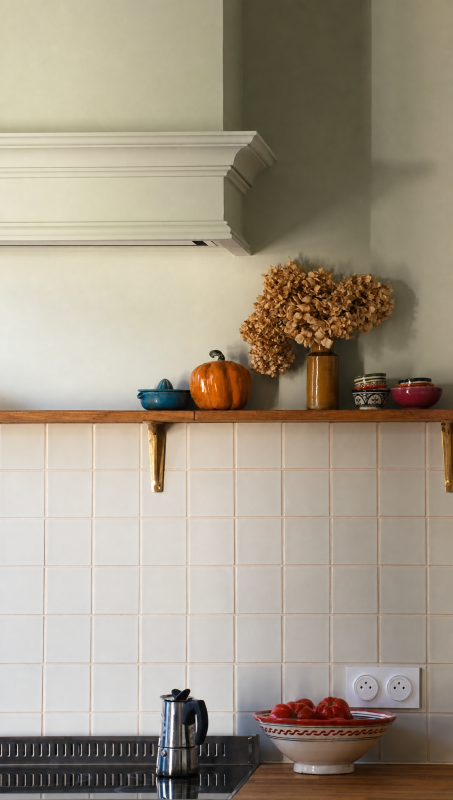
Before the pantry starts, and while we wait for your feedback, there’s another project I’ll be getting on with first. We have a small built-in extractor over the stove, and whenever we cook for a bigger table or batch up meals it can’t keep up. The smell hangs around the space for hours afterwards.
The plan is to fit a proper extraction unit over the hob, then build a surround for it so it stays in keeping with the rest of the kitchen. The question I keep going back and forth on is the colour. Do we paint the surround the same colour as the walls, so it blends in, or give it a contrast colour to match the blue base cabinets? I can’t decide, so again, comments please.
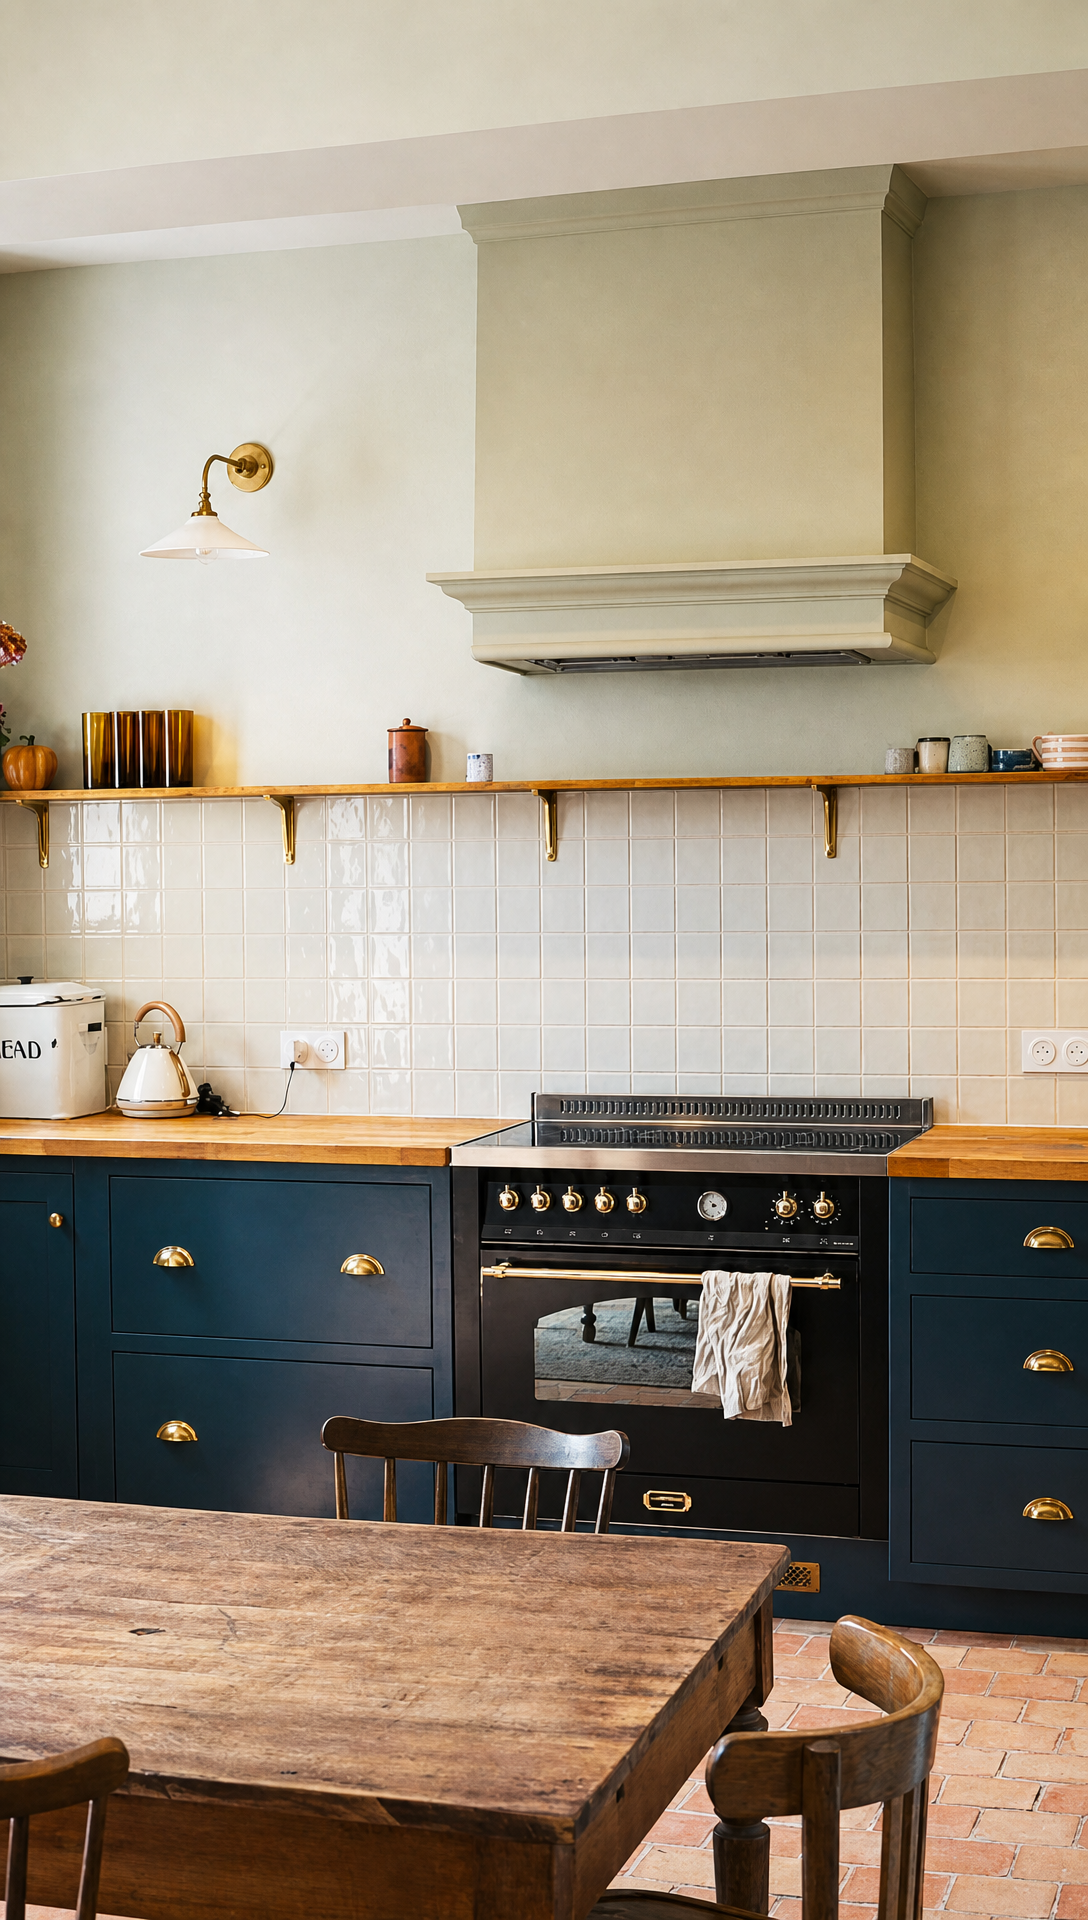
I can’t start until the extraction unit arrives, since the surround has to be built around its exact dimensions. But it’s first in the queue.
More Of The Dreaded Insulation
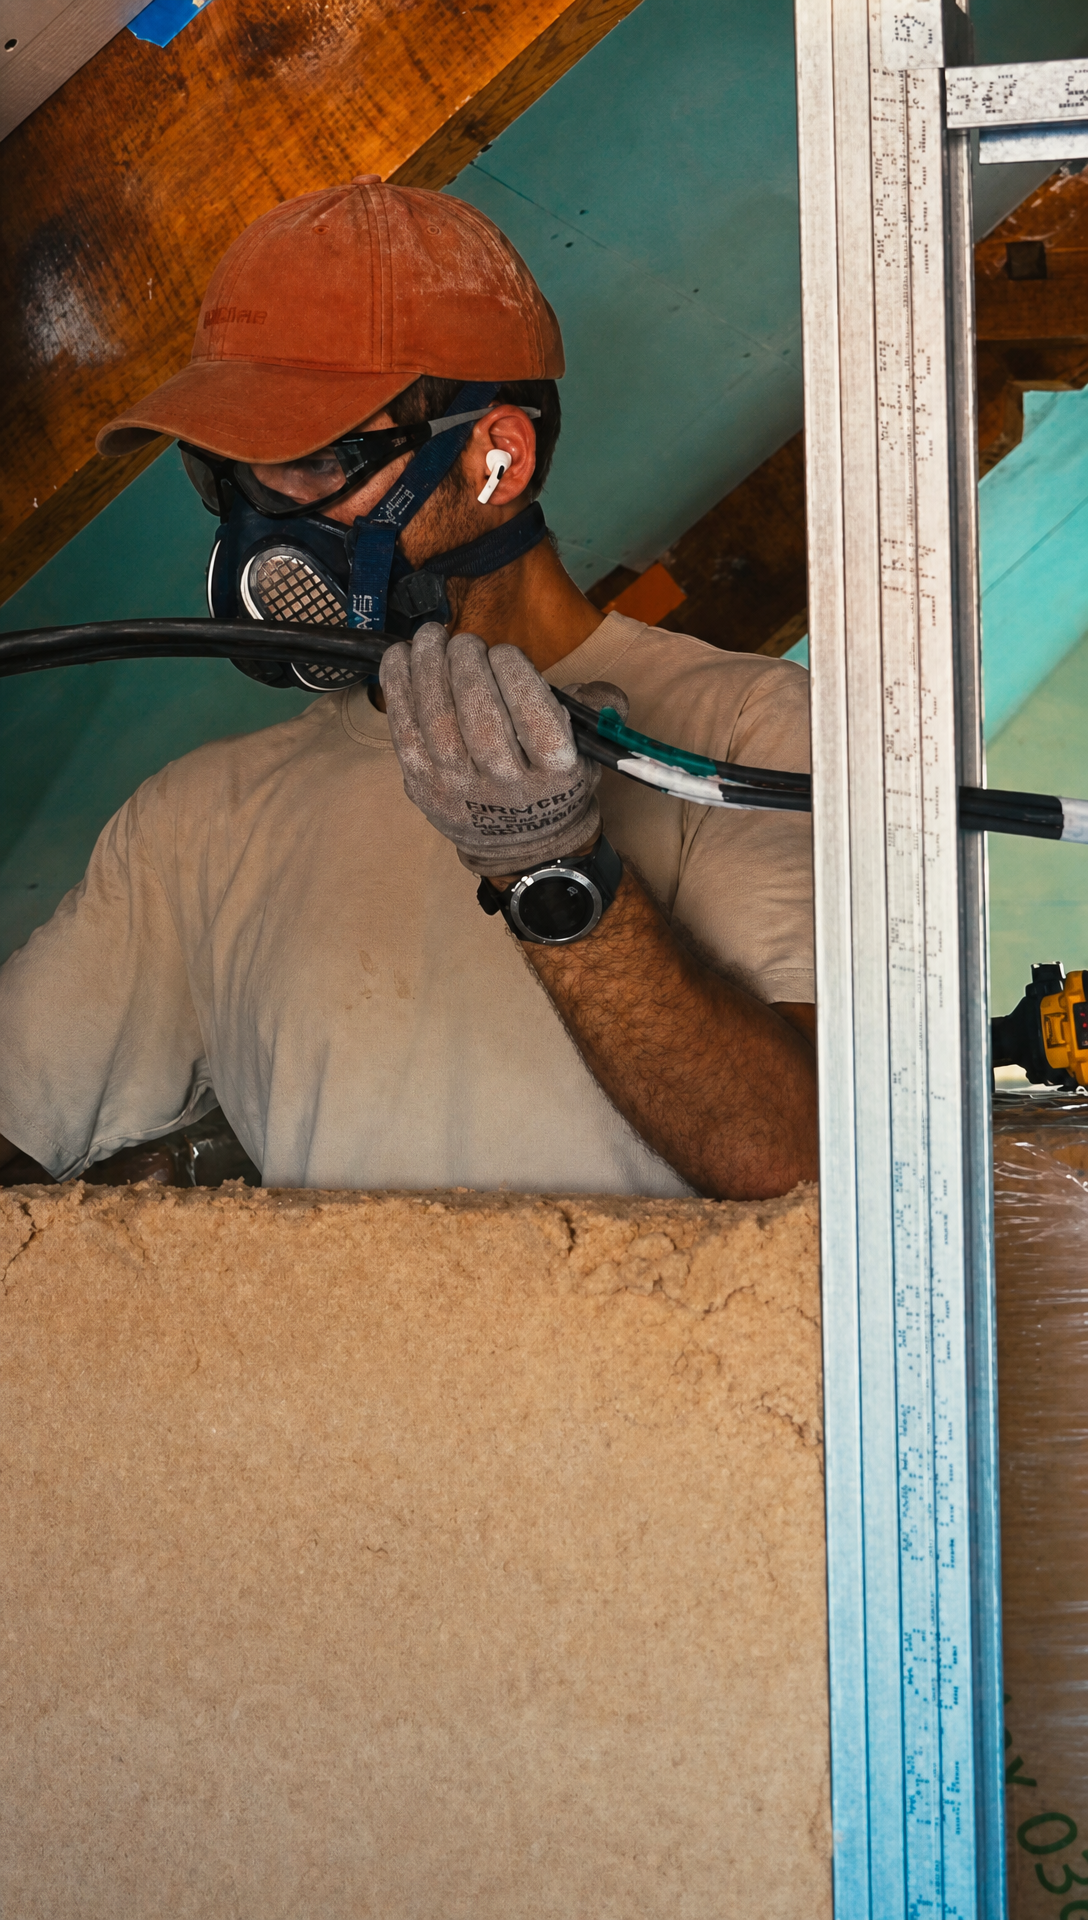
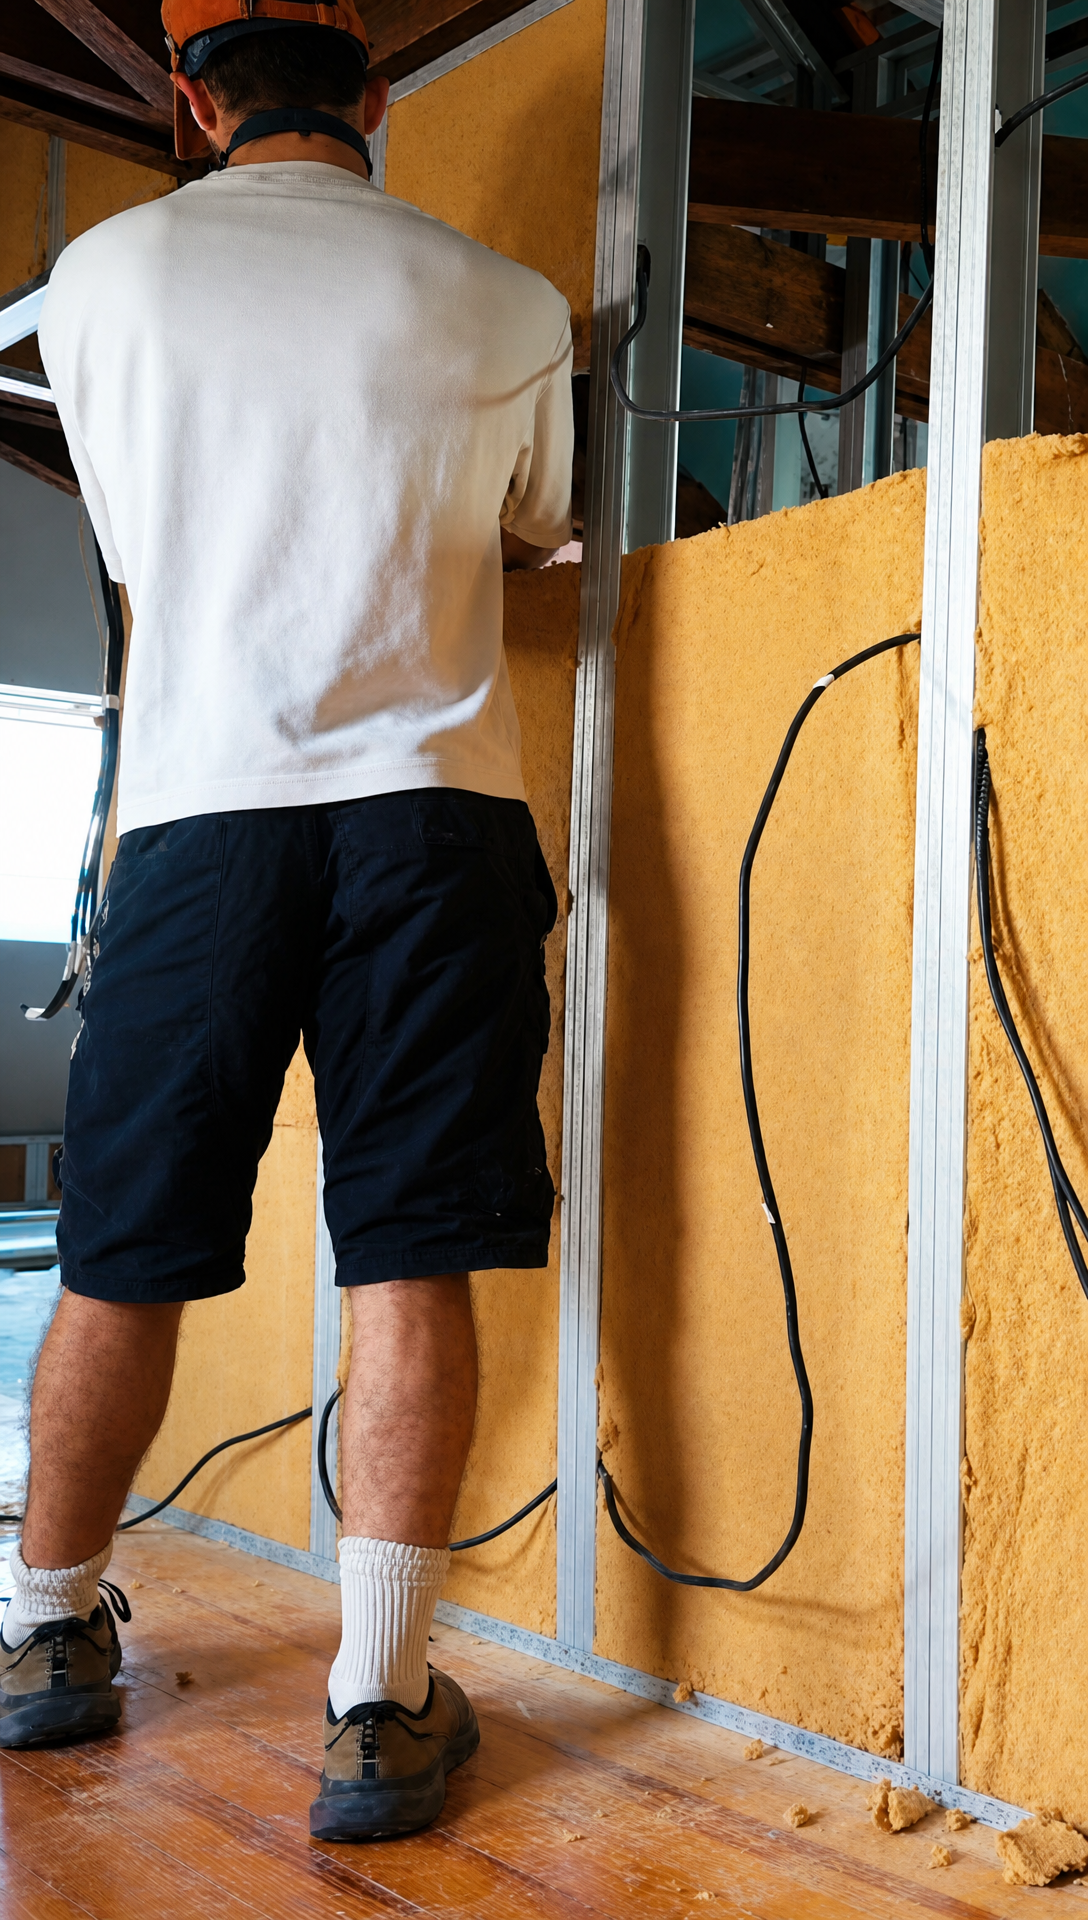
Meanwhile, upstairs, the dusty work carried on. The last video ended with a massive delivery of yet more wood fibre insulation, and as regular viewers know, I detest this stuff. The only cure is to get it over with, so the job this week was to insulate every remaining interior wall I could and get them ready for plasterboard.
I say every wall I could, because a few have to wait. The bathroom walls stay open until the plumber has run the piping for the bath. The rest were mine to fill, and I wanted them done as quickly as possible so we could finally move on to boarding.
First Boards In The Attic Bedroom
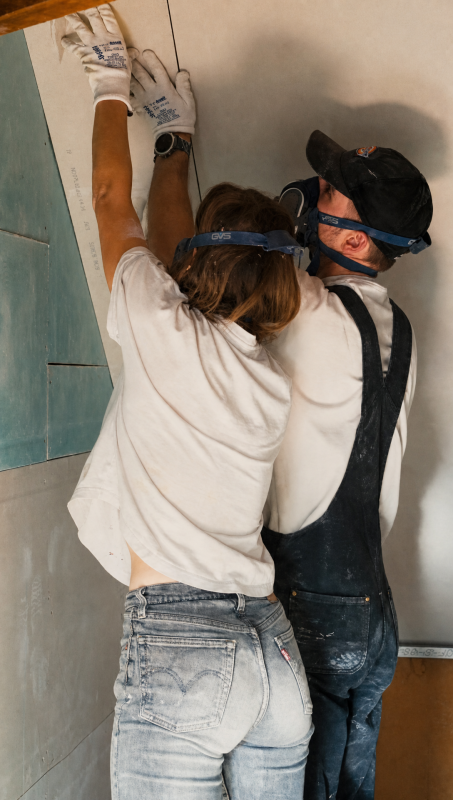
Then came the first plasterboard, a milestone we’ve been waiting on for a long time. The bedroom is the only room up there we can fully board out, because the plumber and the electrician still need access everywhere else, so that’s where we started.
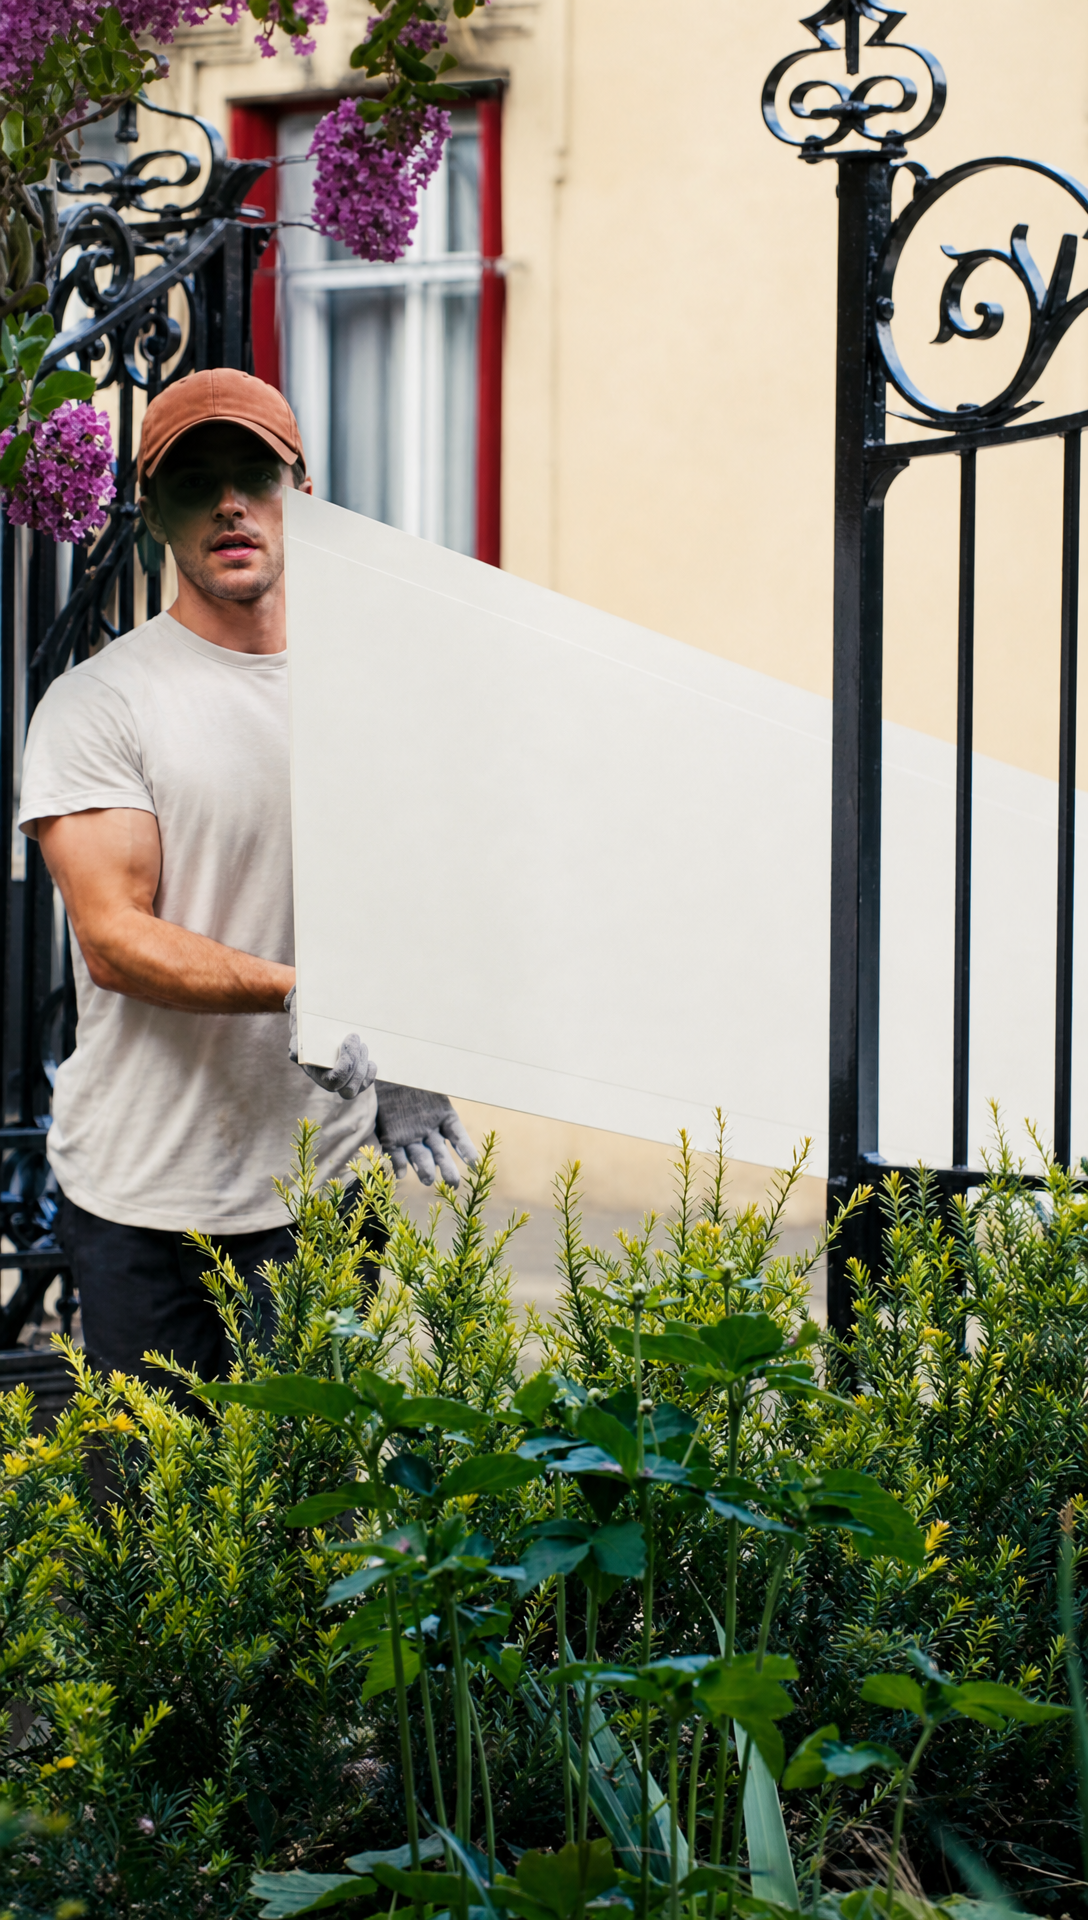
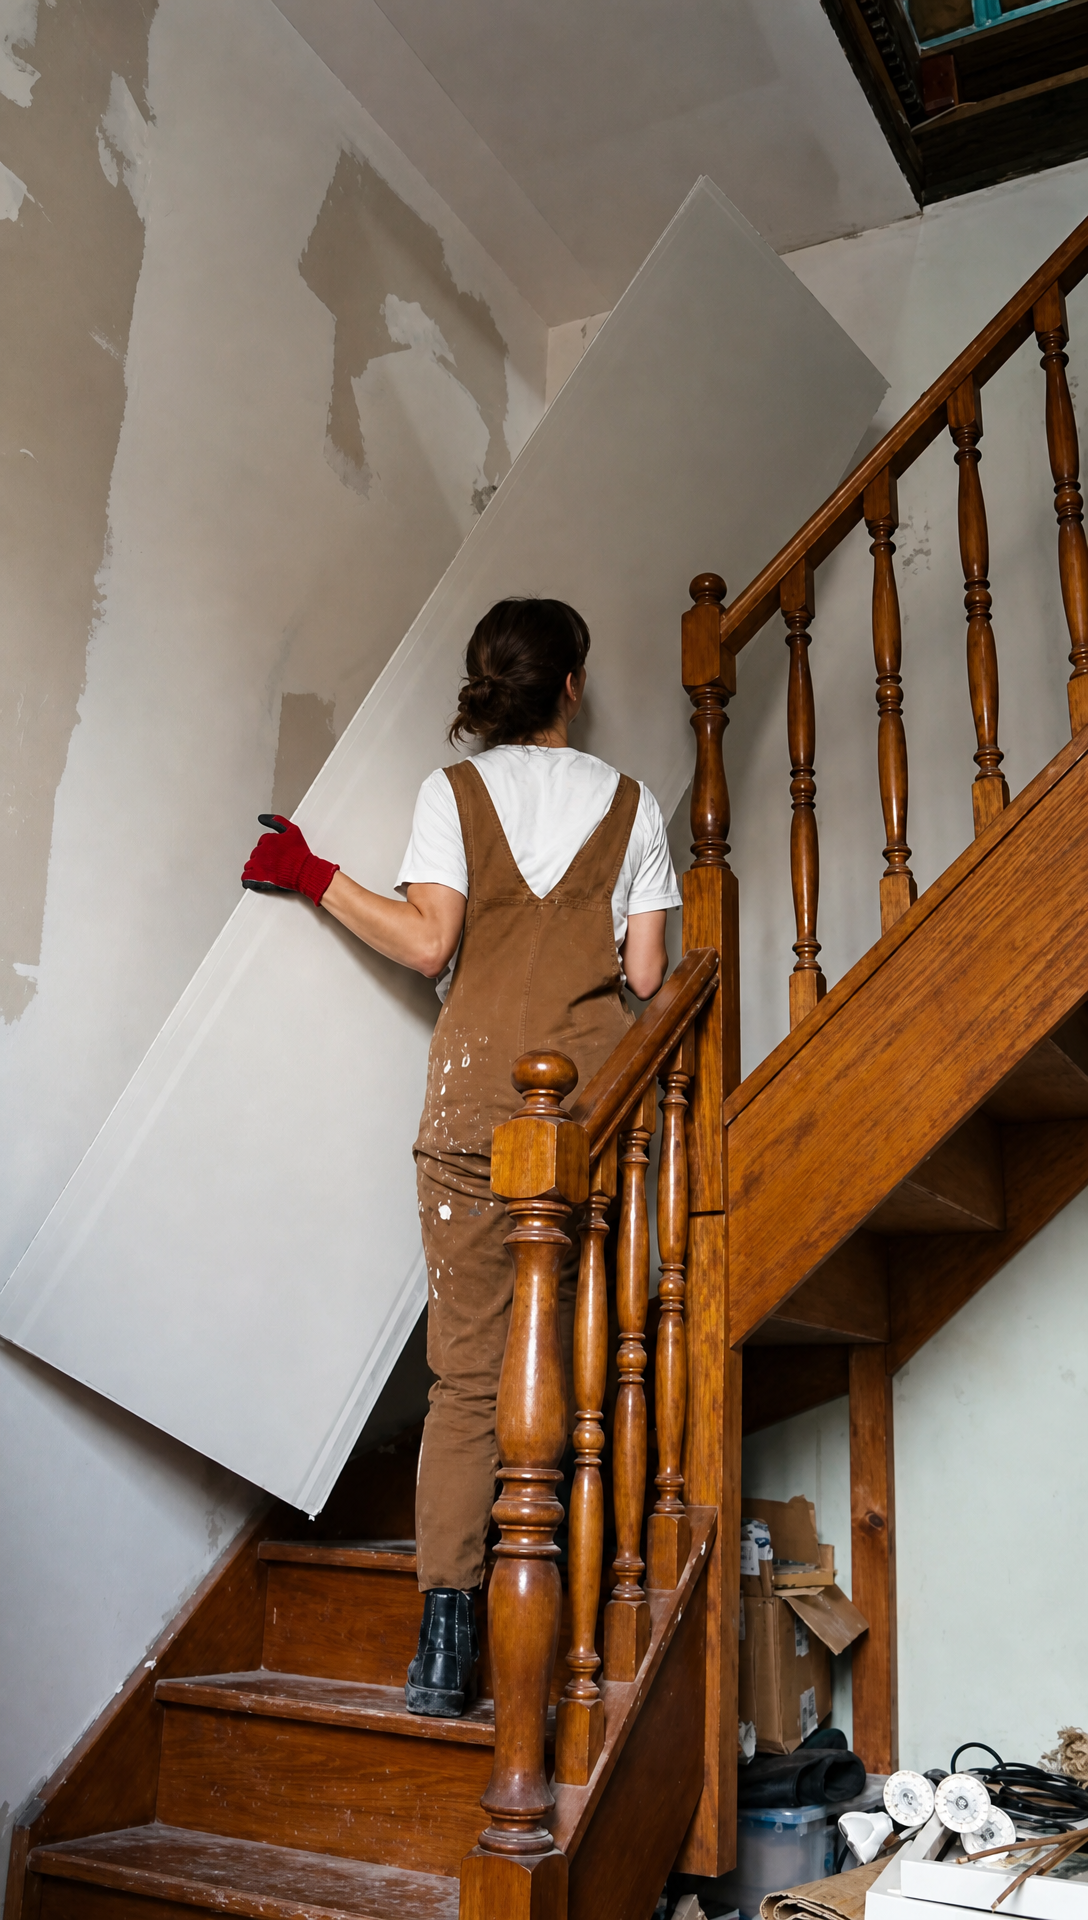
Getting the boards up was a workout in itself. The pulley system Fred and I used last time won’t work any more now the internal walls are in, so we bought smaller boards, and Romy and I spent the morning performing gymnastics up the staircase with them in sticky, humid weather. If we look shiny in the video, that’s why.
We only started boarding at midday, and by the end of the day we’d finished a corner of the room. That sounds slow, and at moments it was frustrating, with boards recut because the angles caught us out. There are always too many angles. But the progress felt good, and the room is starting to feel real.
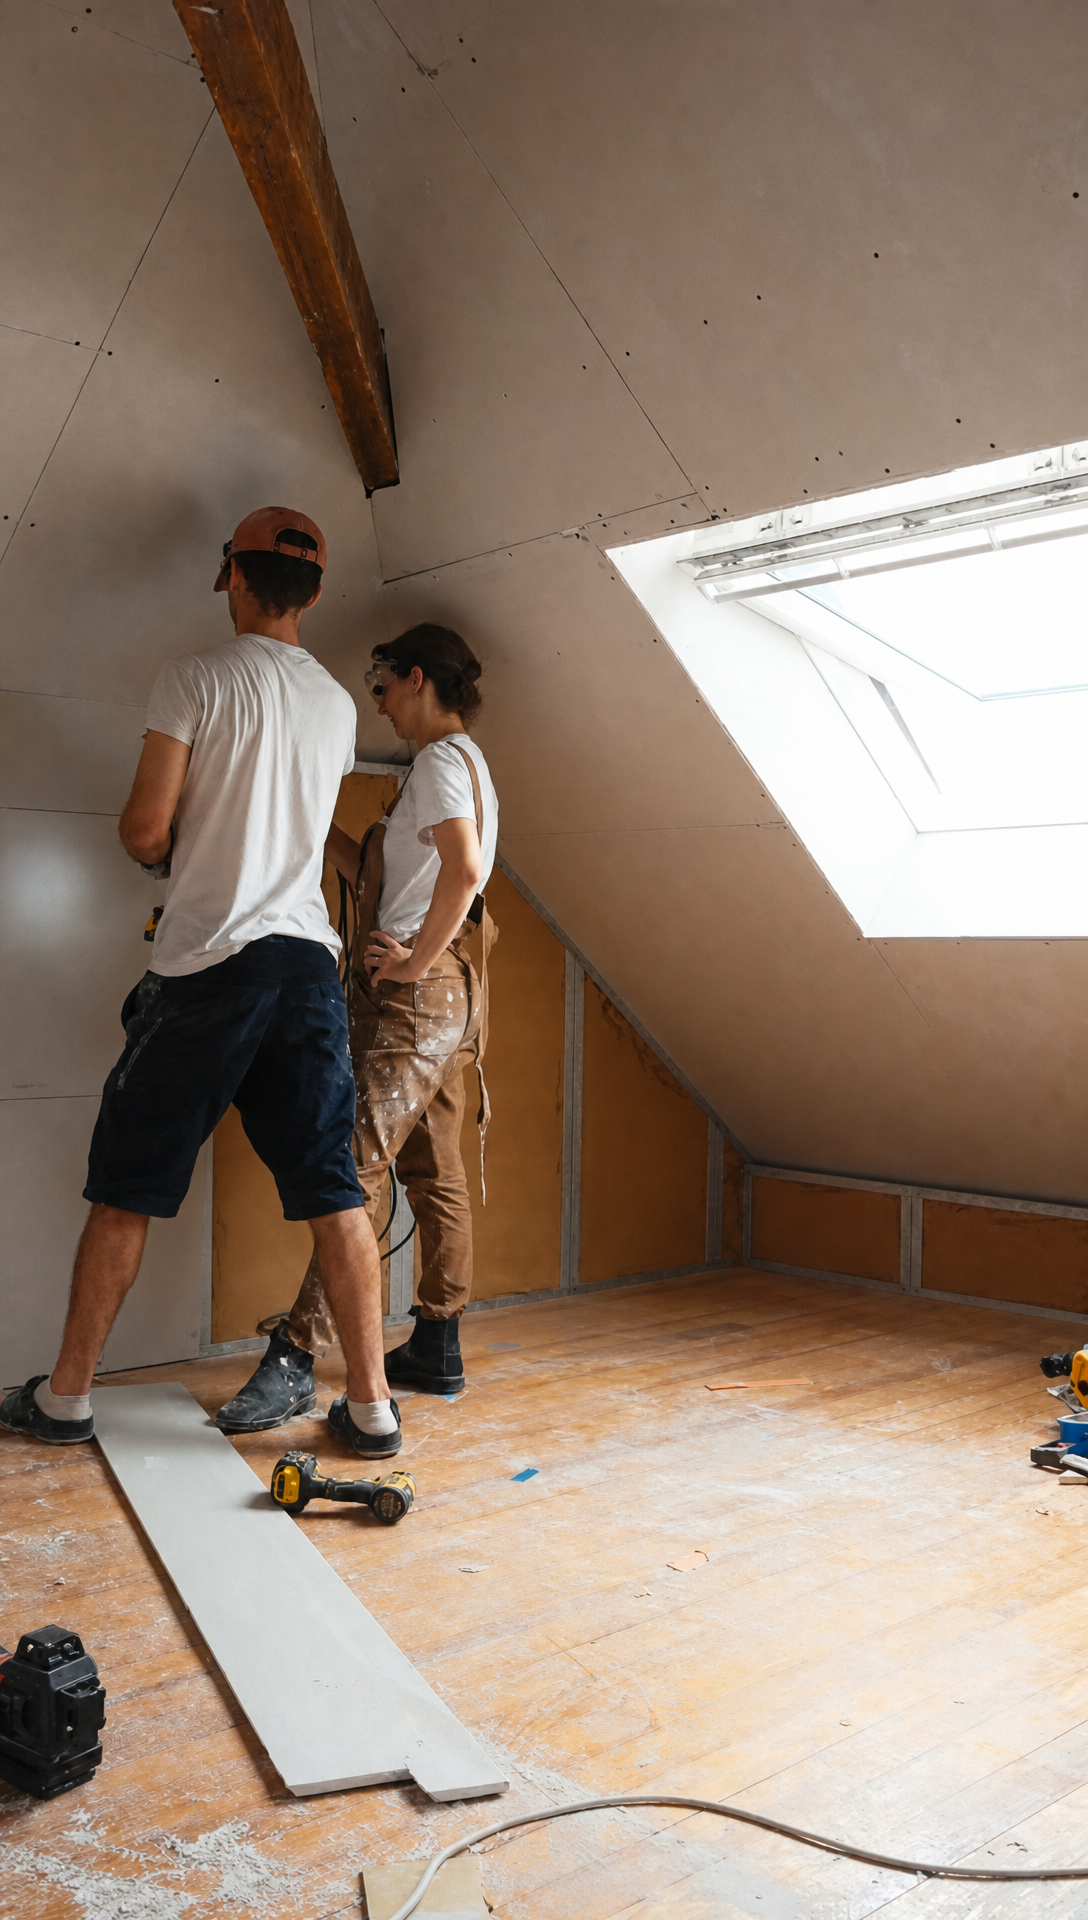
Standing in that finished corner got us reflecting. It will be three years this Christmas since we bought the house, and for all of that time the attic has been wasted space. Watching it turn into real rooms, rooms where we’ll be able to host friends and family, is quite something. Romy won’t let me say soon. There are still messy jobs ahead, taping the joints, skimming, sanding, but it gets more concrete with every day we put in. We celebrated the corner with a shower and burgers.
A Makeover For Phoebe’s Cat Tree
The last project of the episode belongs to Romy and to the cat tree, the one thing in the living room that has never matched the effort we put into that space. Before anyone panics, it’s not going anywhere. This is Phoebe’s house as much as it is ours, and she loves that tree. In winter she practically lives in the hammock next to the radiator, and she hangs out on it whenever we’re watching TV.
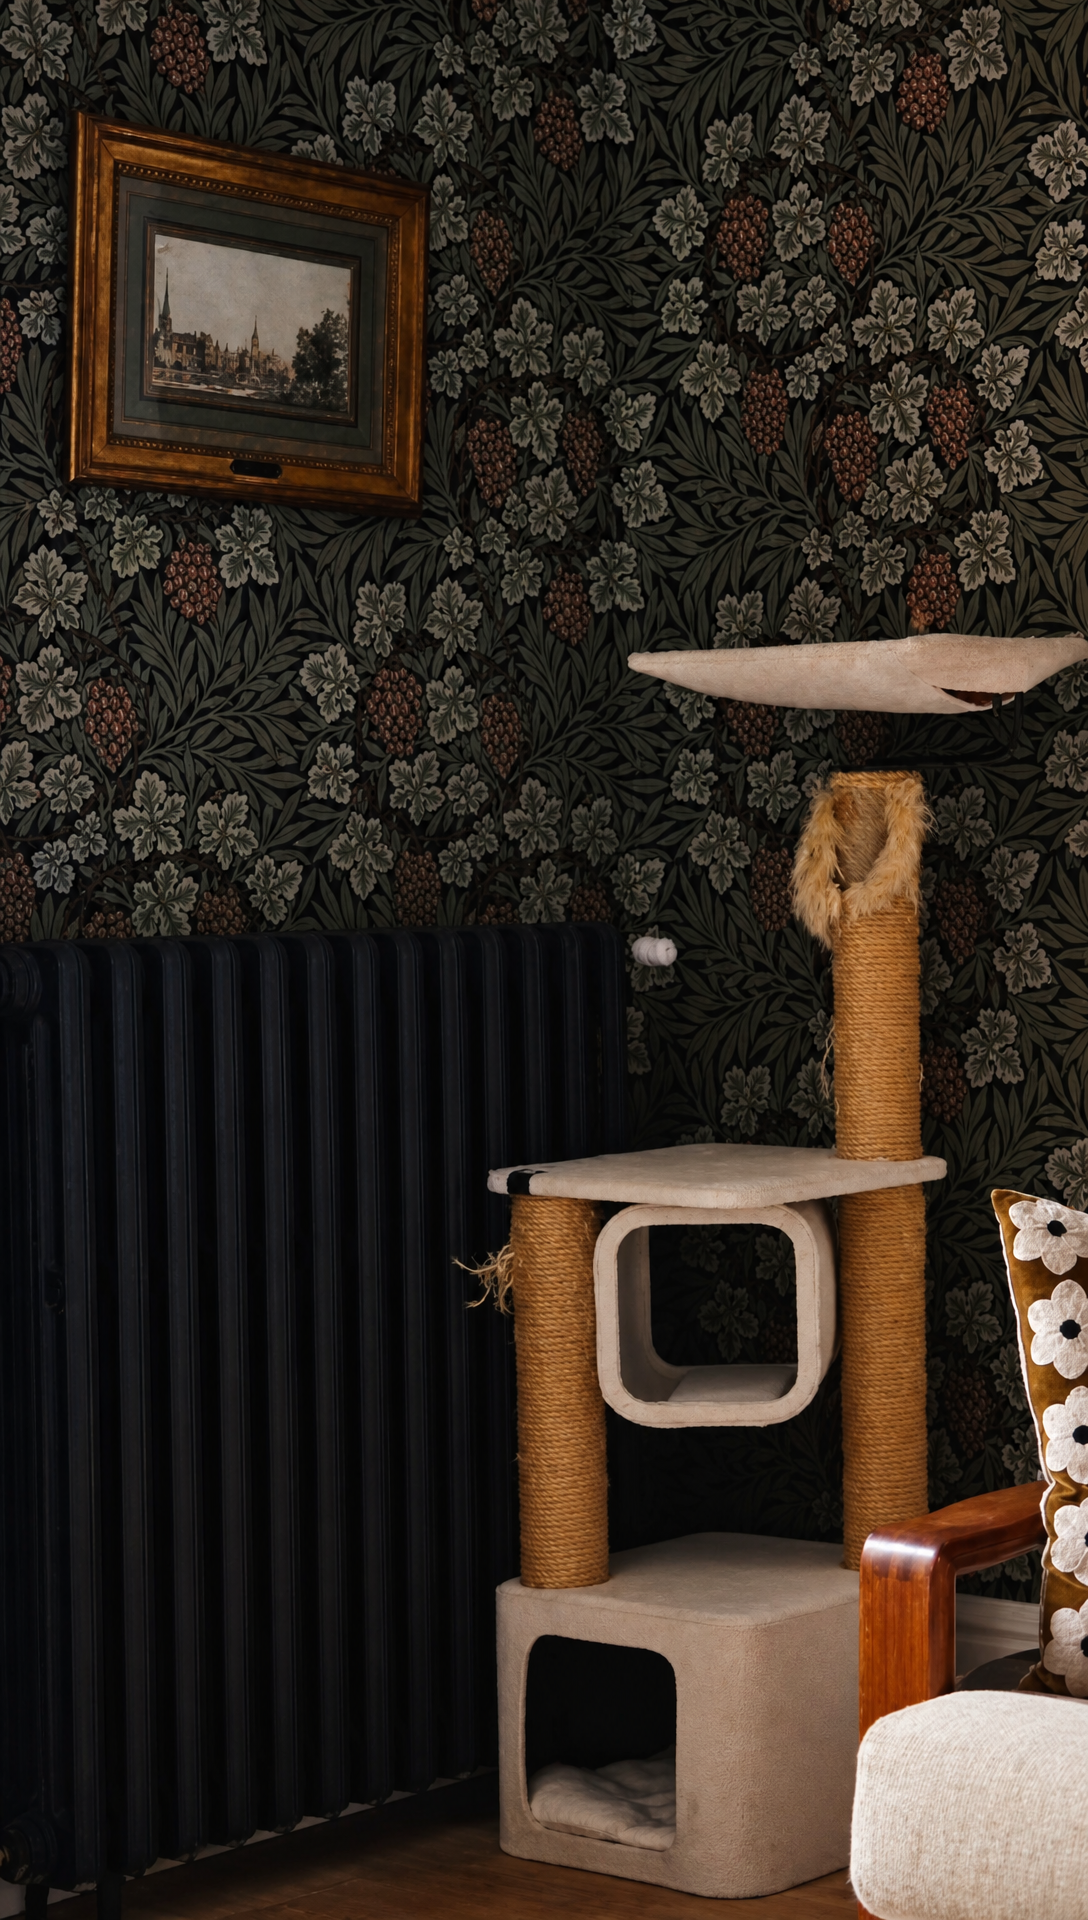
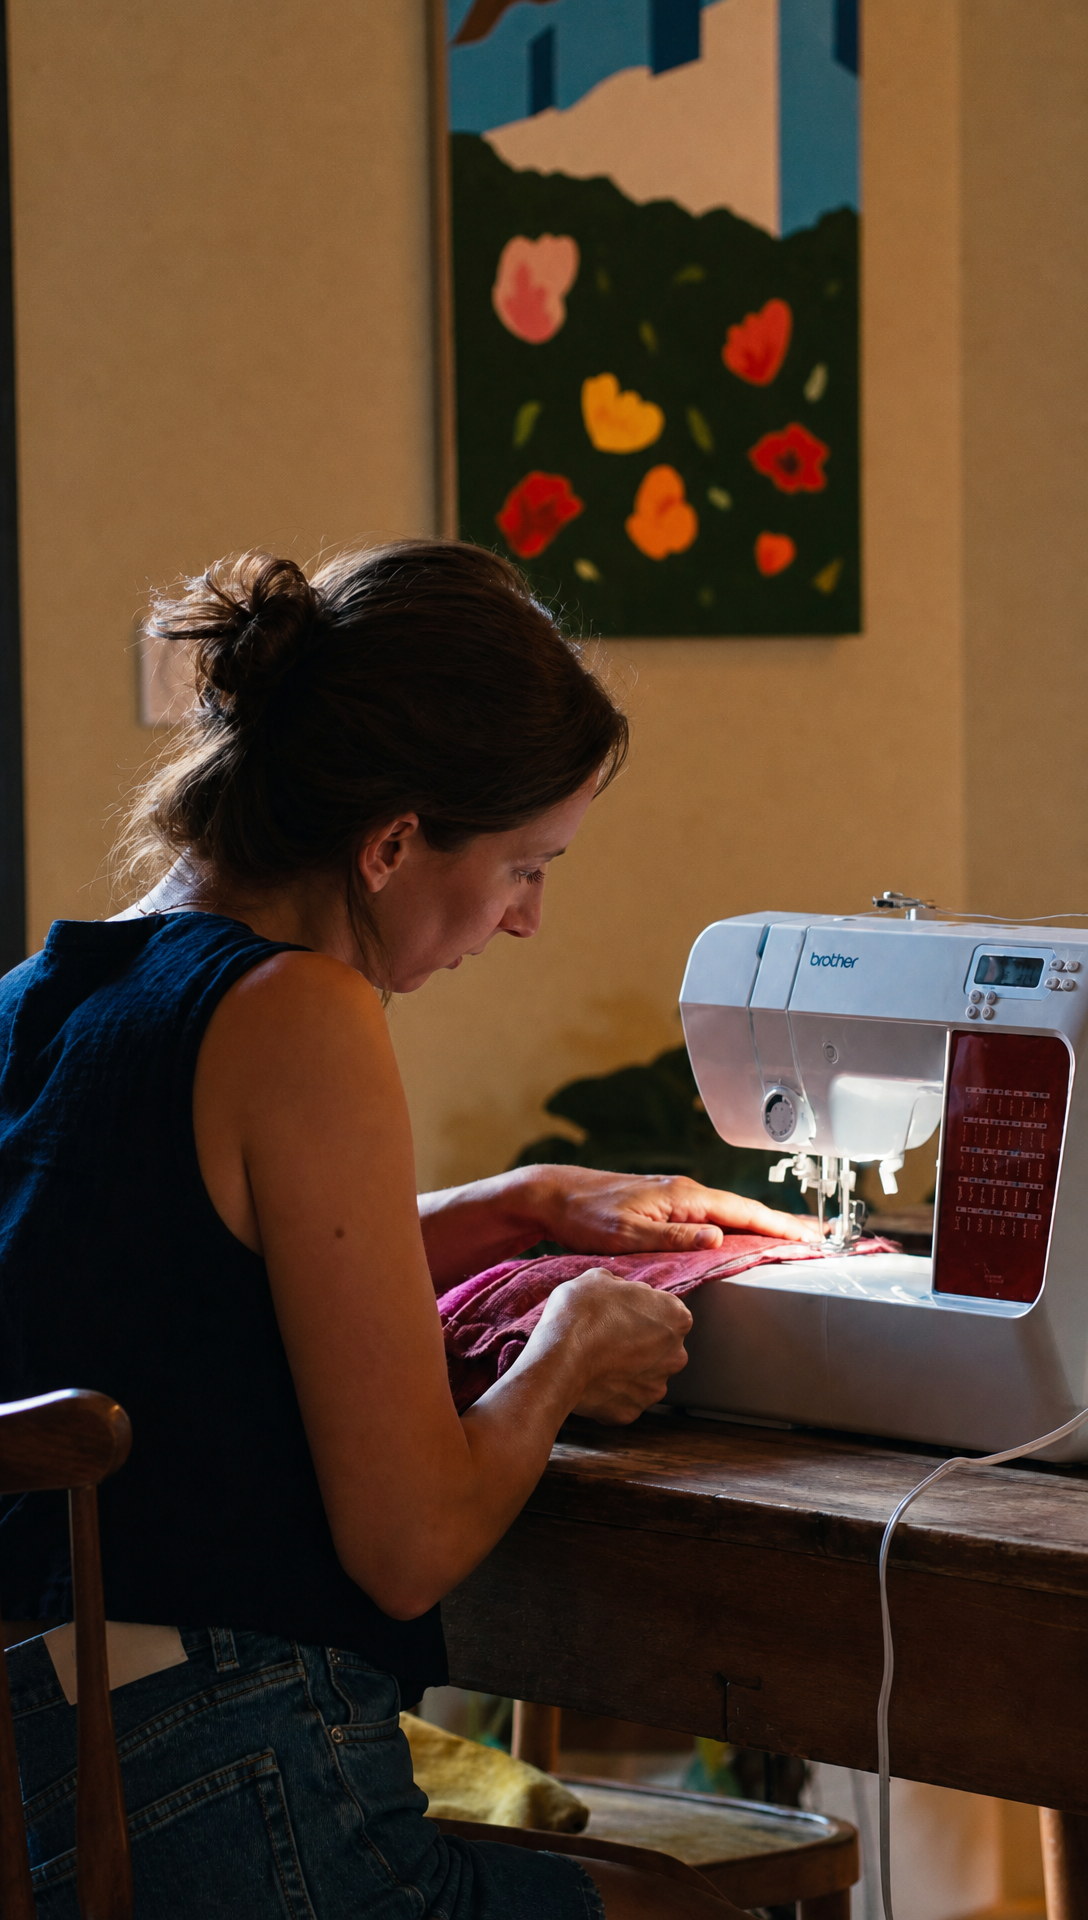
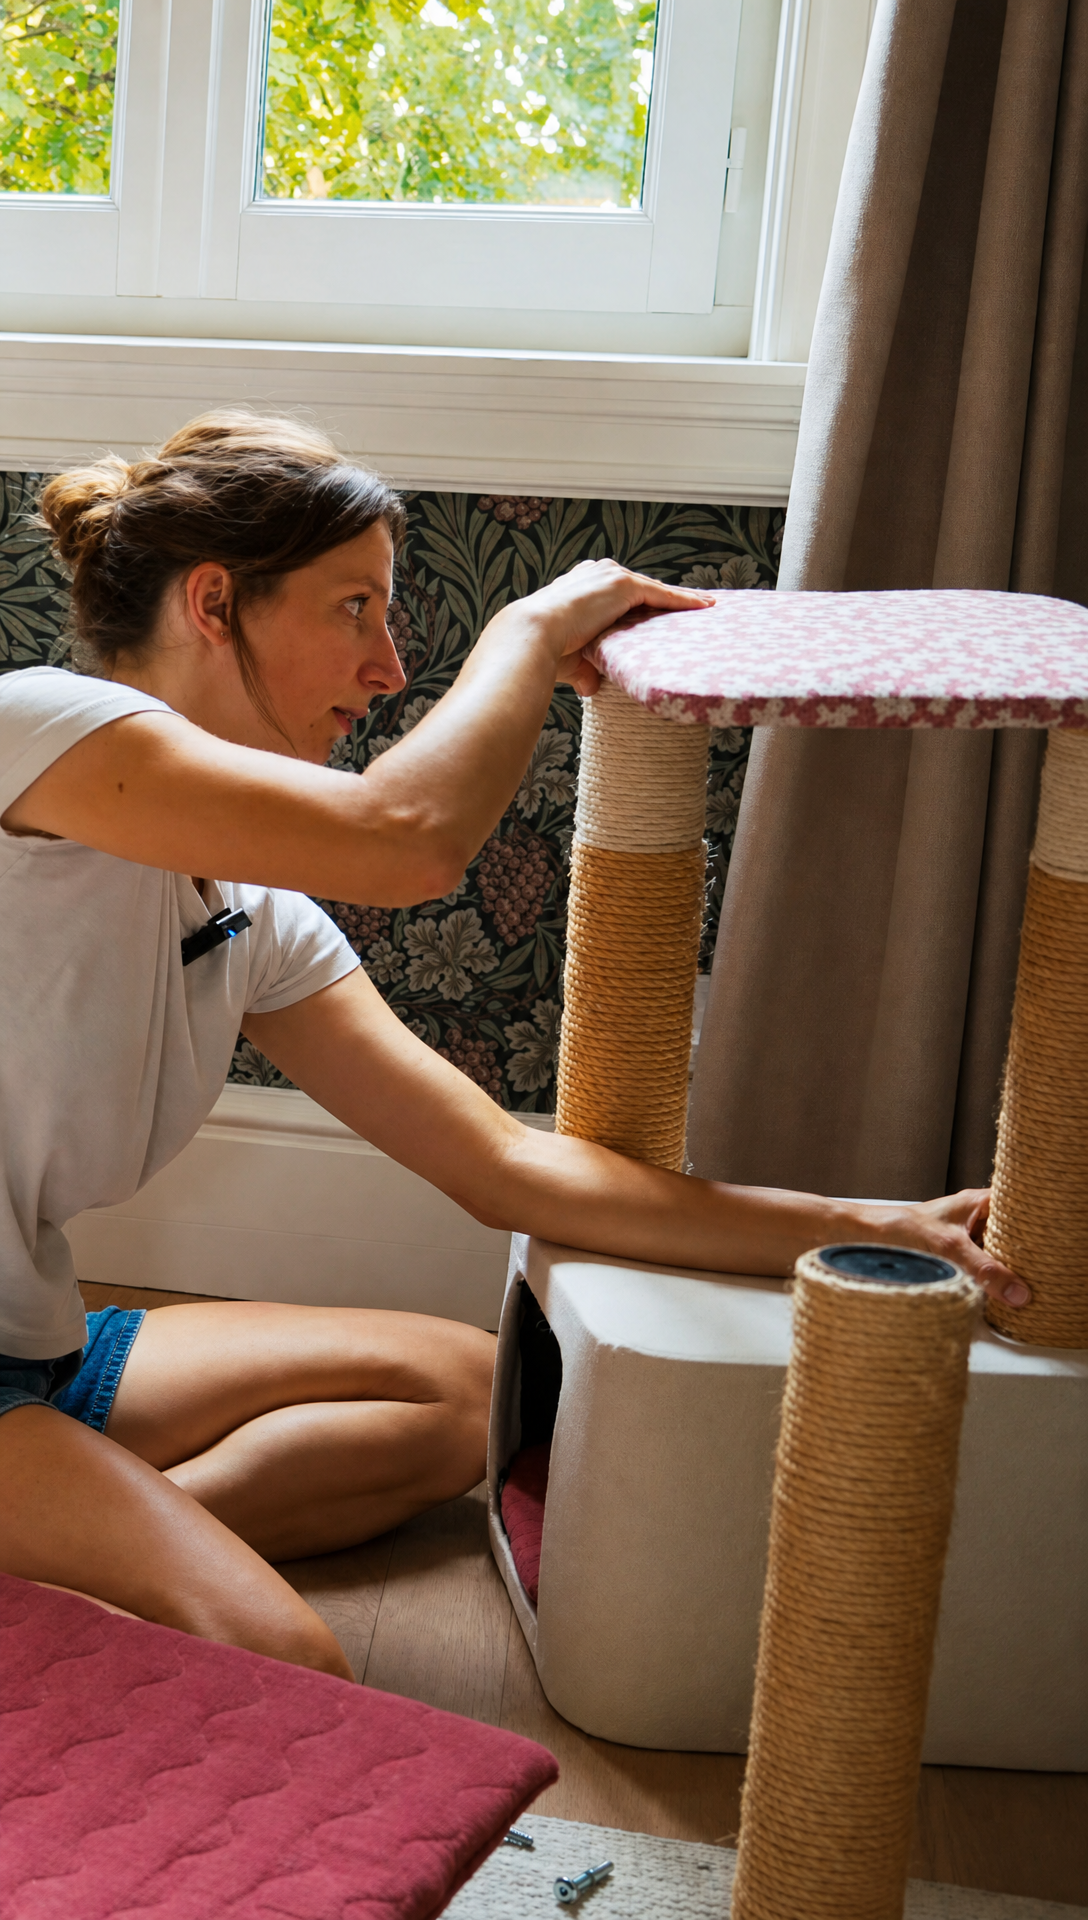
So instead of replacing it, Romy reupholstered it. She’d enjoyed recovering the ottoman and wanted another decor project this week, so the leftover ottoman fabric went to a single element, the nicest spot on the tree. The rest got covered in a cheap bouclé, chosen because Phoebe can scratch it without anyone getting upset, and the worn rope sections needed redoing anyway.
Her method, in her own words, was to treat the whole thing like wrapping paper. Wrap, pull the tension, staple, and hide the staples behind little cushions made for the platforms. She kept insisting it didn’t need to be perfect because it’s a cat tree, then hemmed the edges anyway to make it prettier.
Phoebe’s verdict came quickly. She climbed straight up, tested the rope, and settled onto her new hammock as if nothing had happened. No gratitude whatsoever, exactly as Romy predicted, but she does look very good up there.

The full episode is in the video at the top, from the pantry walkthrough to Phoebe’s inspection. There are two decisions we need your help with: how you’d organise storage in a narrow pantry, and whether the extractor surround should match the walls or the blue cabinets. Leave your thoughts in the comments and we’ll go through them in the next video.