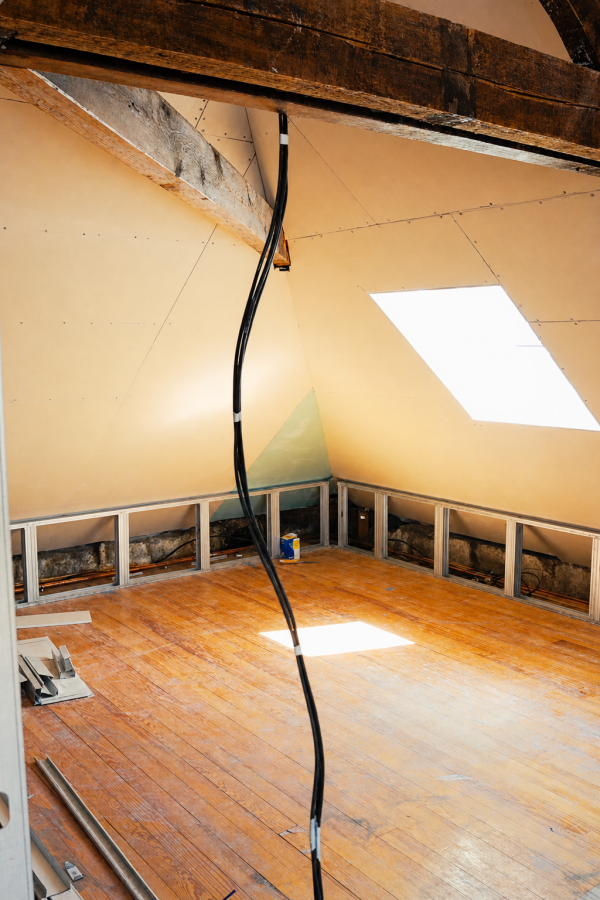
The second heatwave in less than two weeks rolled into Bordeaux at the exact moment a delivery arrived with everything we need to turn the attic into actual rooms. Sensible people headed for the shade of the trees or the beach. We rolled up our sleeves, dragged a fan upstairs and got on with it.
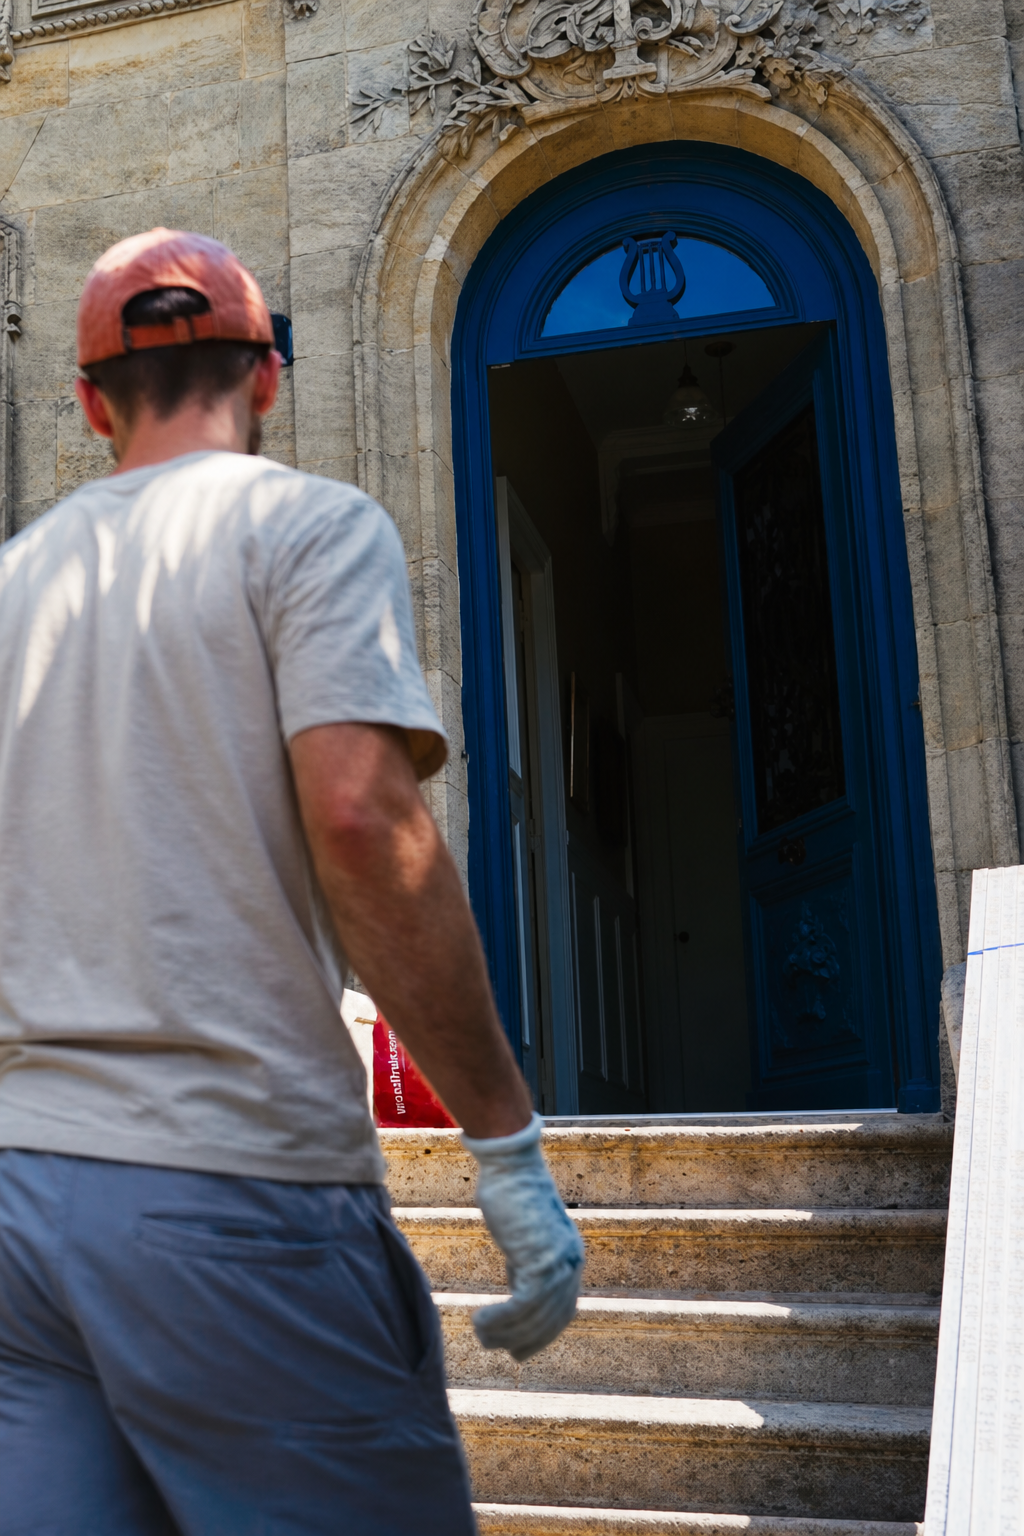
Small Walls First
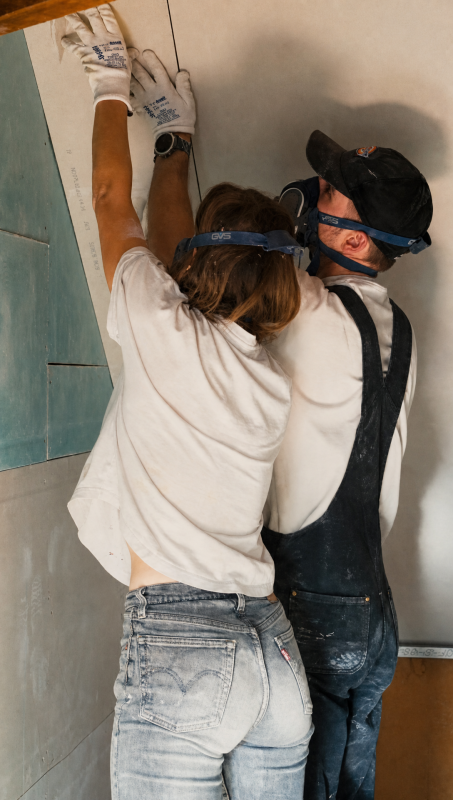
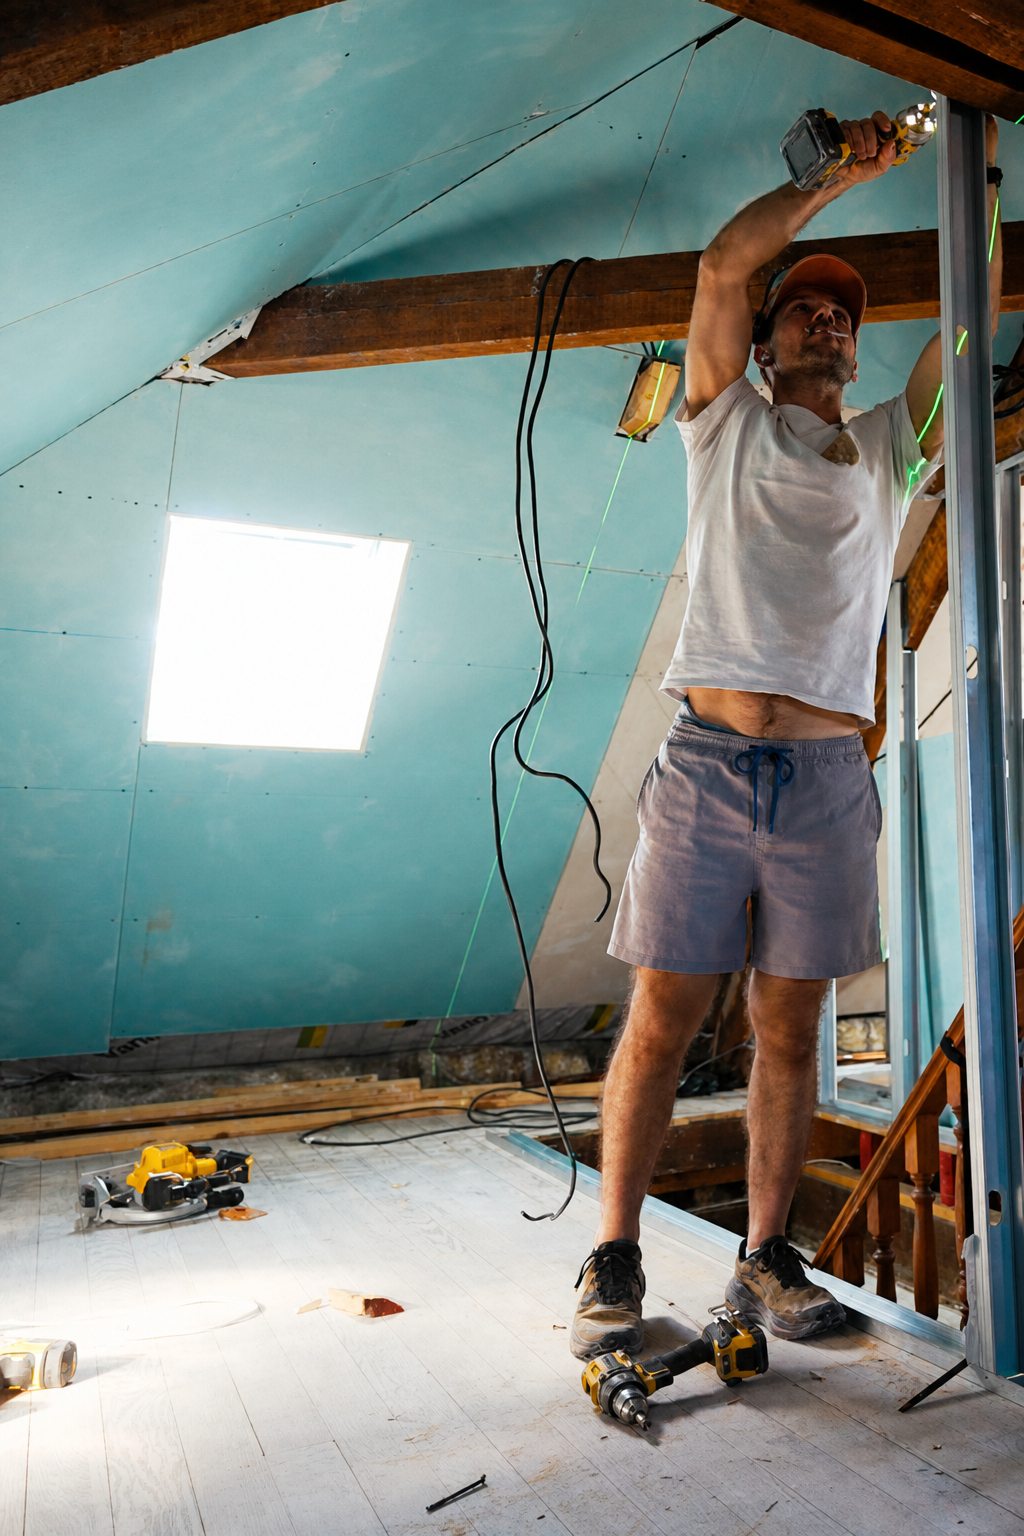
This week’s job was the internal walls upstairs. The starting point is the little perimeter walls that join the sloping ceilings to the floor. They hide the lower part of the exterior walls and leave a gap behind them for insulation, plus a route for piping and electrics.
I’ve built stud walls downstairs before, but those were timber. Up here I’m using metal framing, which is the standard way of doing it in France and completely new to me. I went in fully expecting to make a mess of it somewhere.
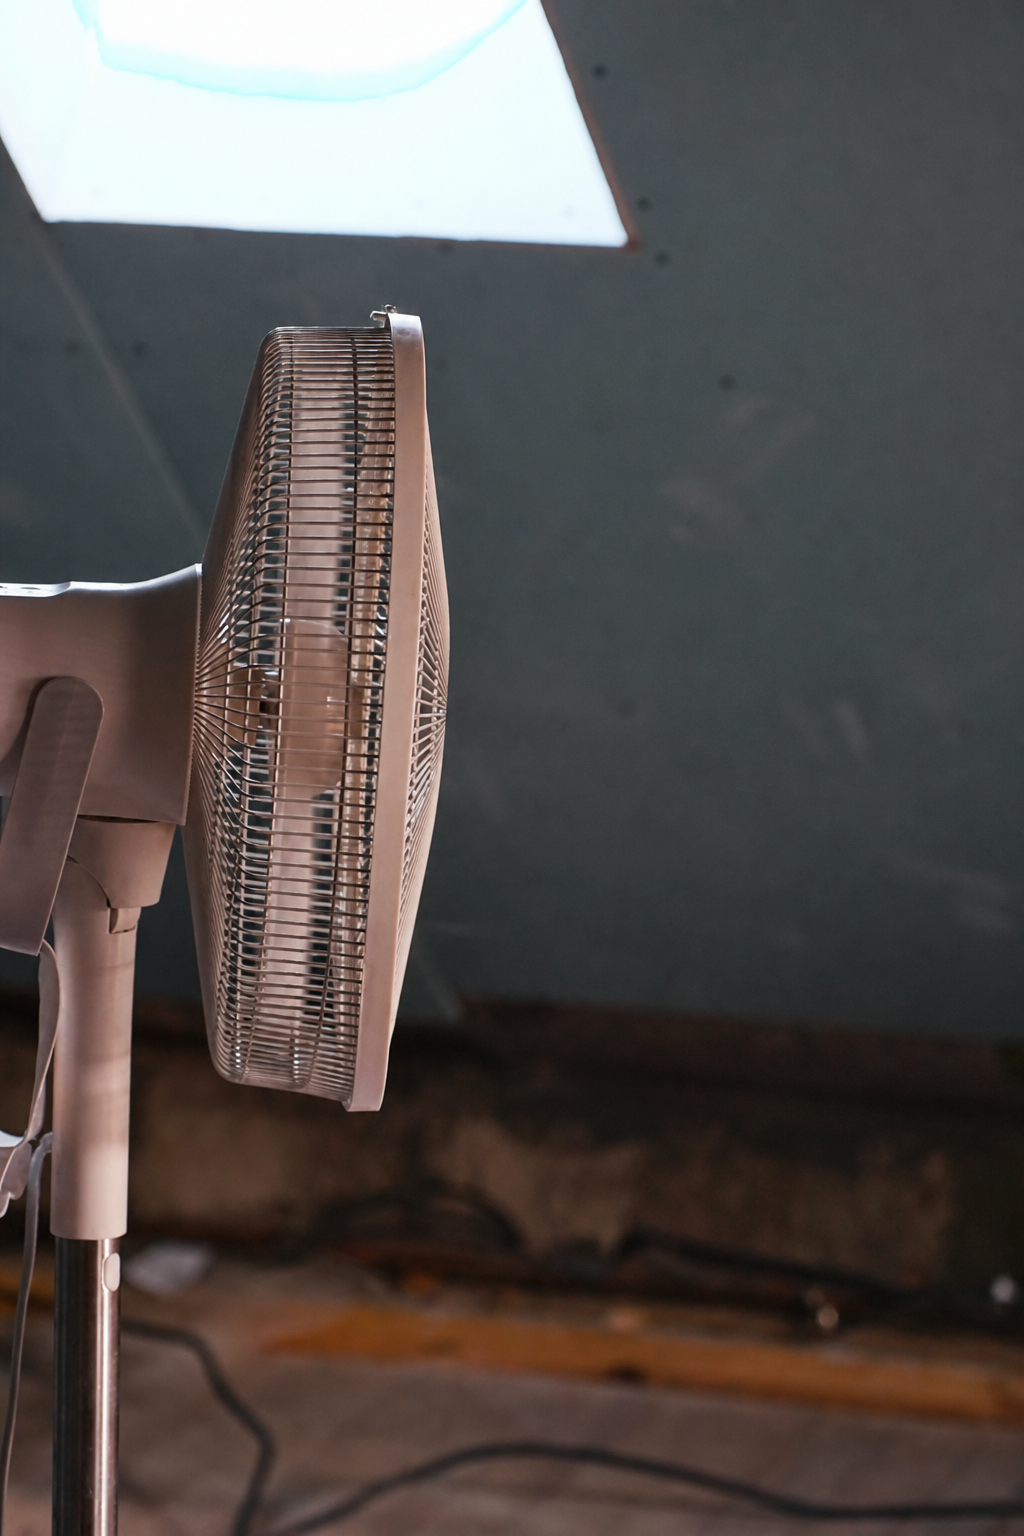
Tear It Down And Start Again
I didn’t have to wait long for the mess. I put a laser level on the first top rail I’d fitted and the line wandered off in a direction a top rail should not go. It was completely off level. Best I can tell, I aligned the verticals first when I should have started with the horizontals, and the errors piled up from there.
So the first wall came down and went up again. The first one never goes to plan. The learning is for all the next ones.
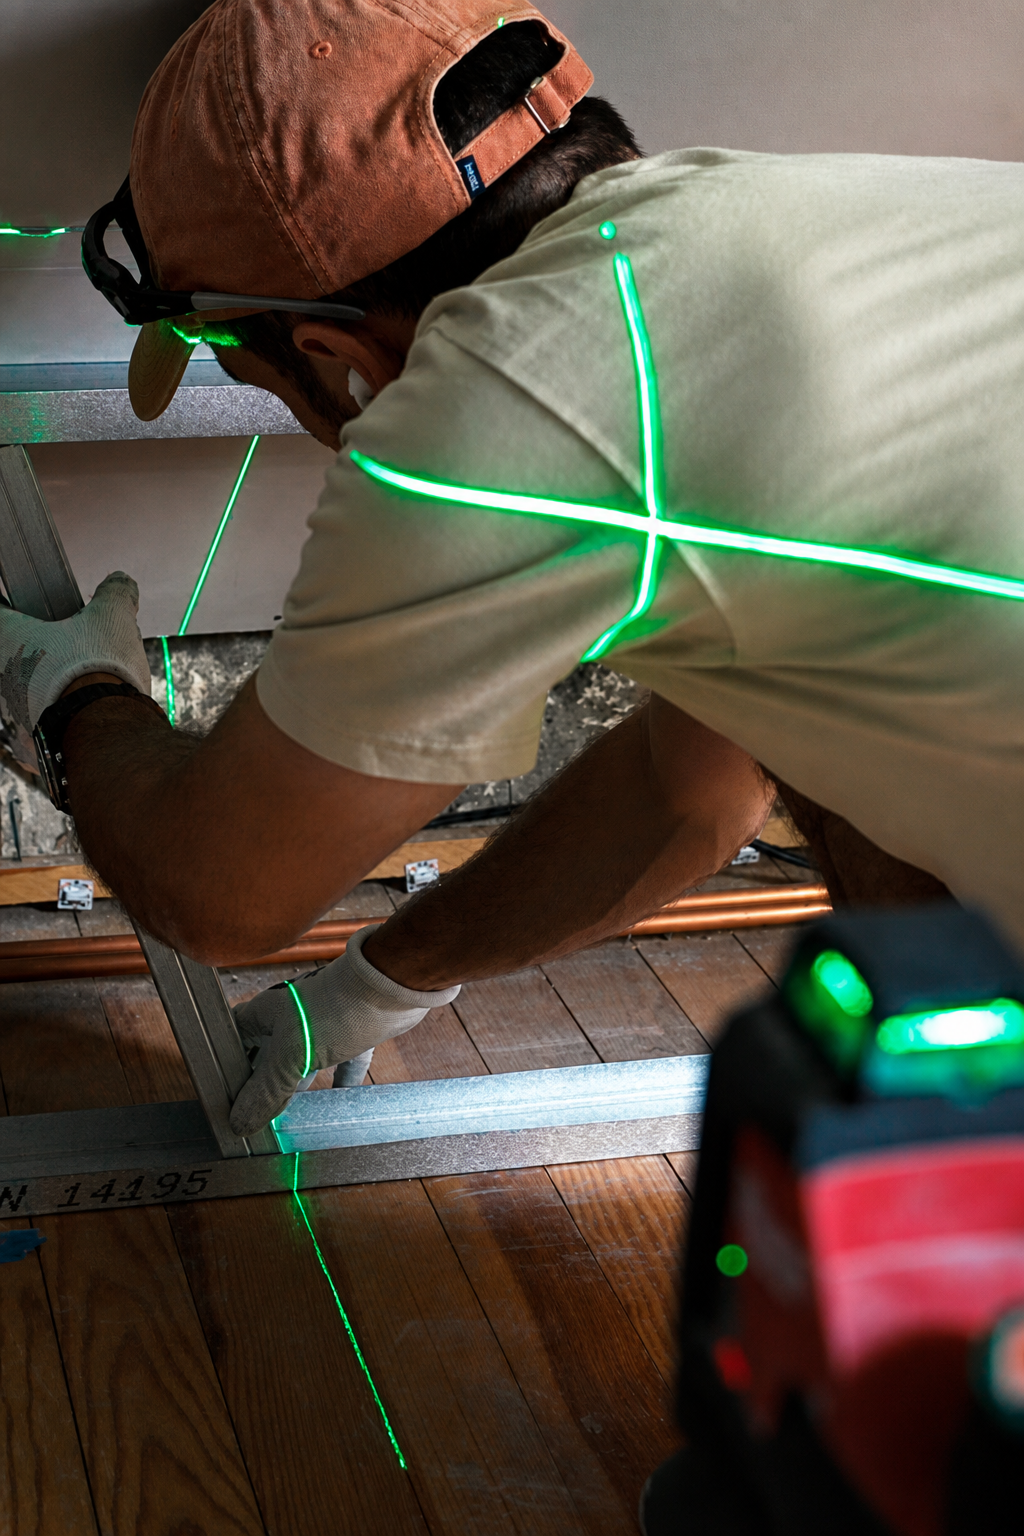
The Framing Goes Up
Once the rails started going in properly, the work found a rhythm. The miserable part is the low eaves, where fitting a rail means folding yourself into the gap and drilling at whatever angle your spine allows. My back has been complaining in the evenings, which is not a good sign, but the actual placement of the studs turned out to be pretty easy.
The stopping point chose itself. I reached the end of the metal studs I’d bought, and the car picked that exact moment to give up, so there’s no restocking until it’s fixed. A good place to pause anyway. I didn’t expect to get this far in a week.
You Can See The Rooms Now
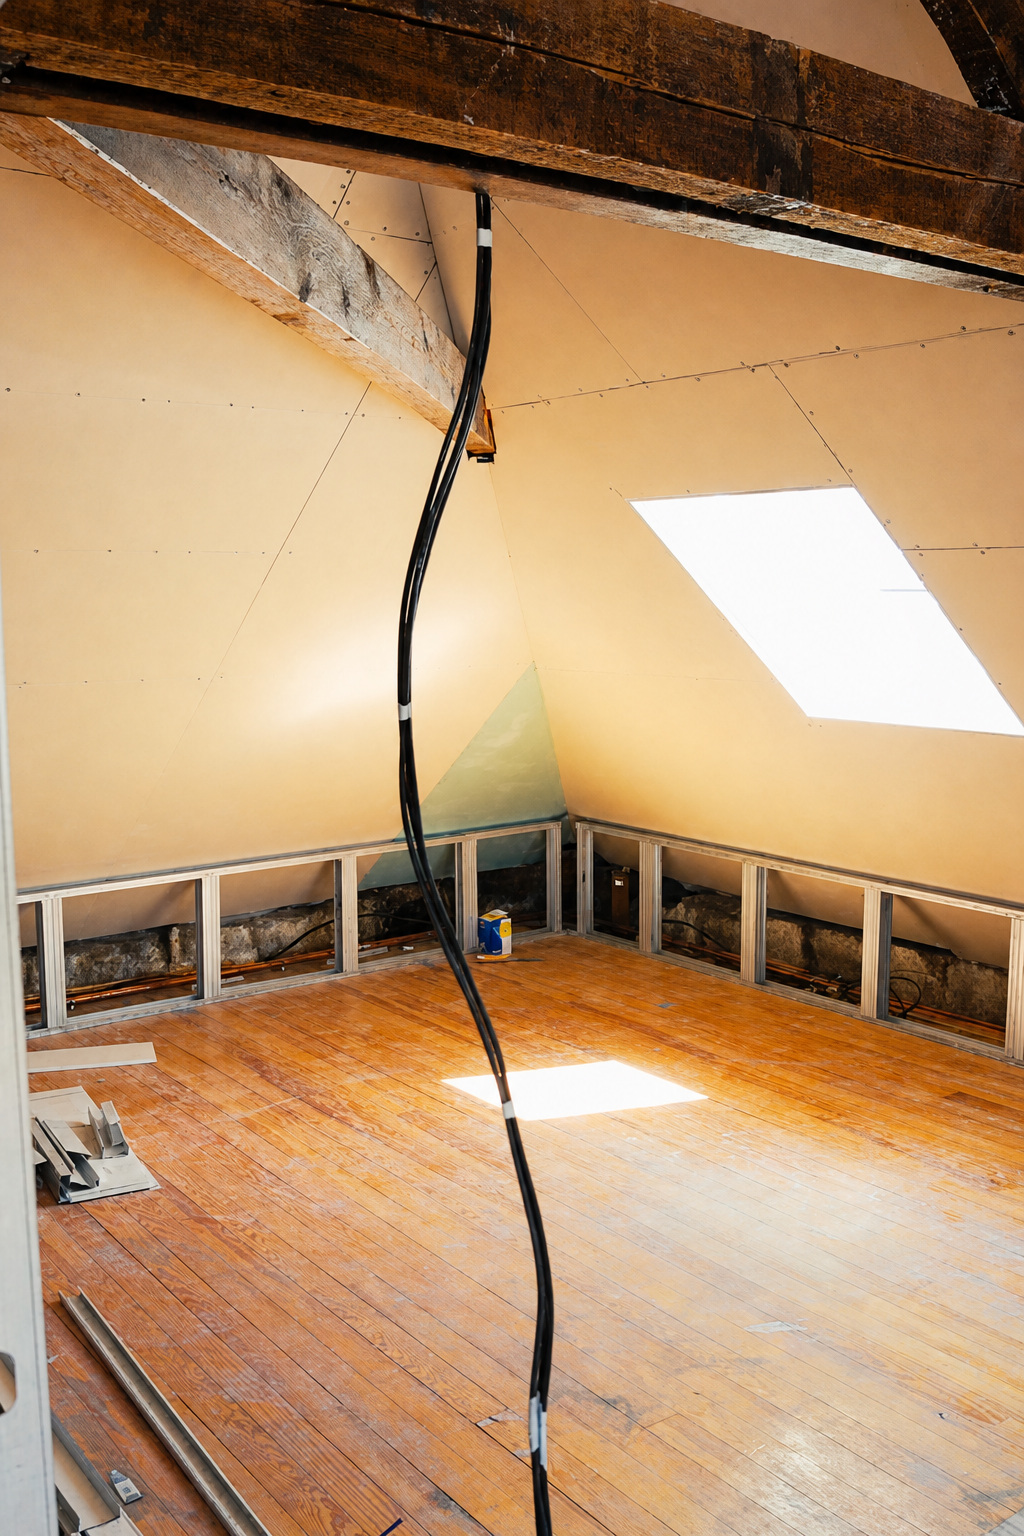
The master bedroom is roughly framed, still missing the wall that closes off the bathroom and a bit of framing over the door. The second bedroom is pretty much done, and the hallway needs its false ceiling.
That false ceiling has a secret job. With the heat we’ve been getting, and after reading a lot of your comments, we’ve decided to put air conditioning up here. The unit will live inside the hallway’s false ceiling, with concealed grilles feeding both bedrooms through the upper plasterboard, so the beams stay on show and the rooms keep their traditional character.
What surprised me most is how much the framing has changed the feel of the space. I worried the studs would shrink the attic, and the opposite happened. You can stand inside the rooms now, see exactly how big each one will be, and the space is decent even with the low ceilings.
Vanity, Round Two
A thank you is owed to everyone who weighed in on the bathroom last week. The original plan put the vanity under the slanted wall, and it died on inspection. Making it usable would mean building a false wall so far into the room that you could no longer walk past or open the doors properly. Most of you suggested linen storage under the eaves instead, and that’s exactly what we’re going to do.
Some of you also suspected we were moving the vanity purely over the mirror placement. Partly guilty. It was a bit about the mirror, but mostly about standing at a sink with a sloping ceiling closing in over your head. It works, but it feels claustrophobic, and with the taps in the mix it wouldn’t be great to live with.
The vanity moves to the long wall that closes off the bedroom side, where there’s enough space to move around it and a proper spot for a mirror above. Early designs are in the video, and we’d love your thoughts on them.
Meanwhile, Down In The Cellar
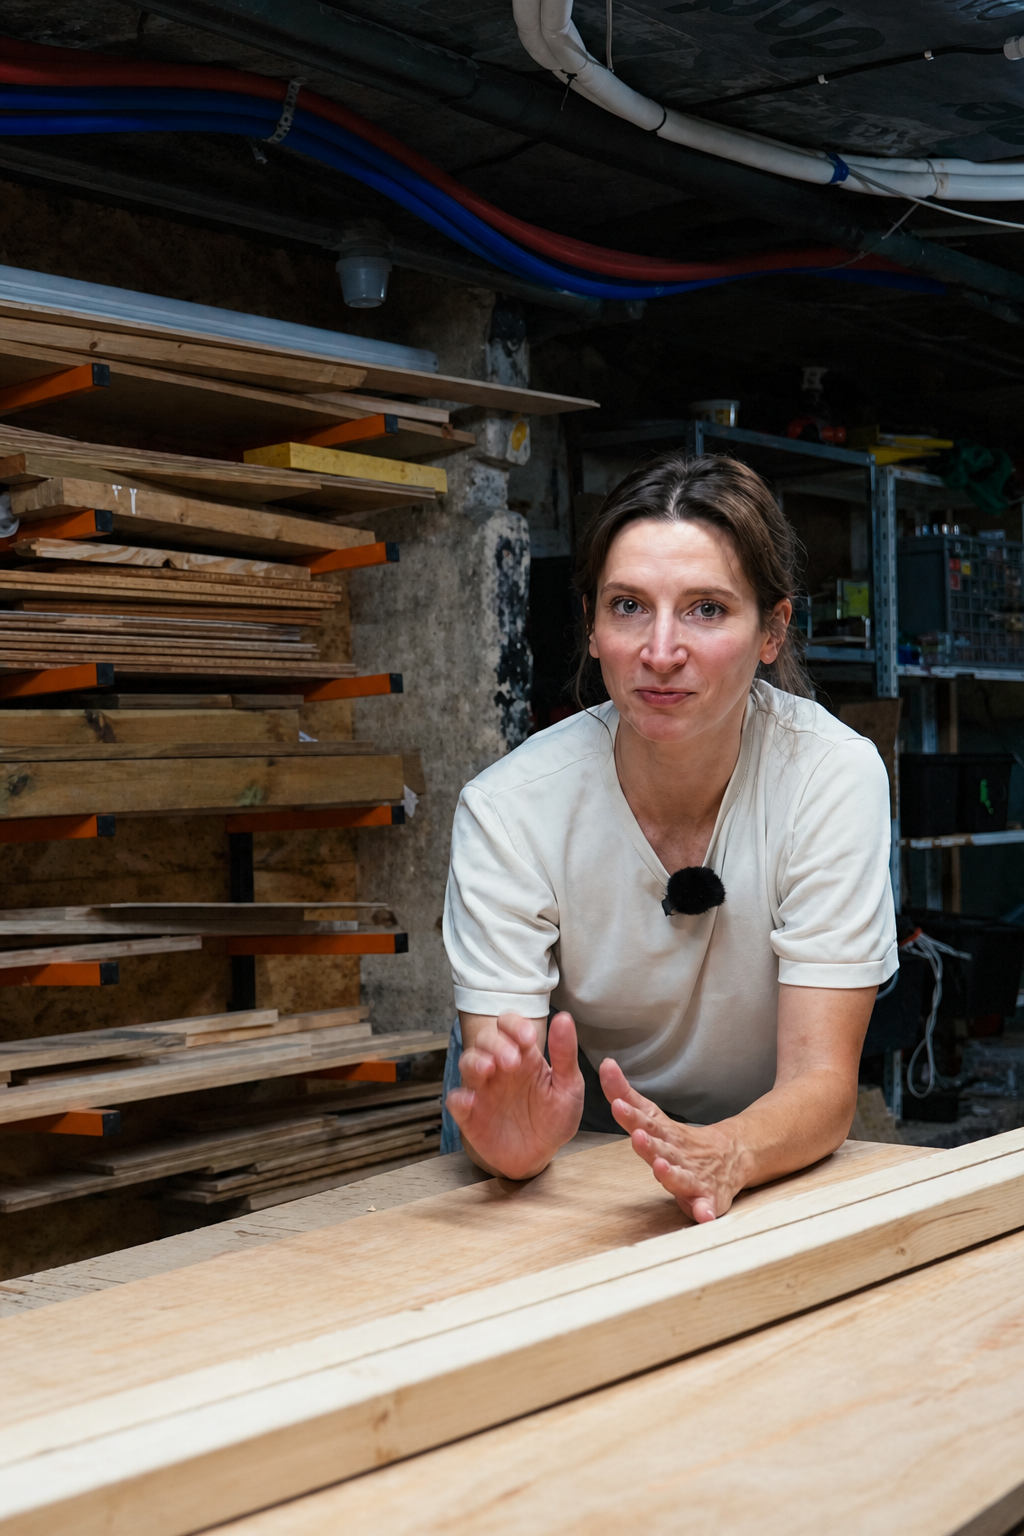
While the attic baked, Romy claimed the coolest room in the house and, for once, the woodworking. Her project is a little upholstered footstool for the living room, and it starts with a wooden box. The brief for the box was modest. Since foam and fabric would cover everything anyway, it only had to be solid enough that a person could sit on it without going through. I wasn’t around to interfere, so she improvised with the pieces of wood we had, and a footstool skeleton appeared.
Foam, Fabric And A Kitchen Knife
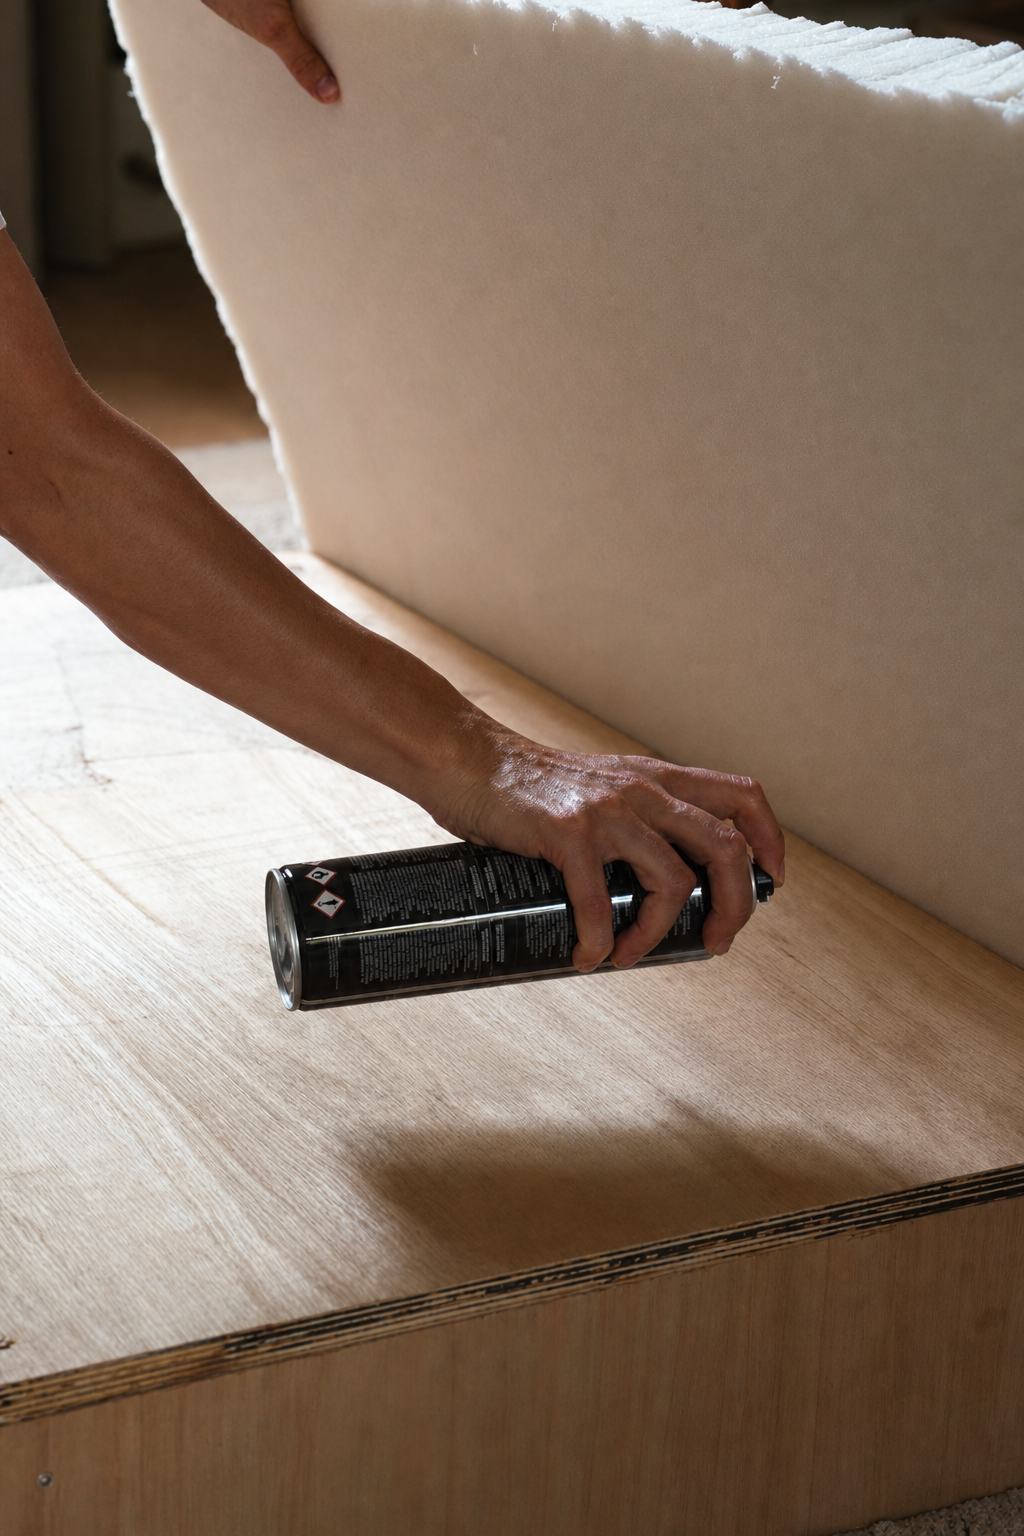
The foam went on next, cut to size with an ordinary knife. Apparently everyone online uses an electric carving knife for this, the sort you’d carve a roast with, and the jagged edge our knife left behind explains why. The padding layer should hide it, and there’s spare foam for a second attempt if it doesn’t. Spray glue fixed the foam to the box, and then the project ground to a halt waiting for the fabric to arrive. Phoebe inspected the bare base and was, as per usual, not impressed.
The fabric turned up a few days later, and with it the fiddly part. For the piping, you lay the fabric wrong side up and staple right against the cord, so that when you pull the fabric down it sits flush. Romy’s verdict on her first corner was that it needed redoing, which seems to be part of the technique too.
One Footstool, Ready For Feet
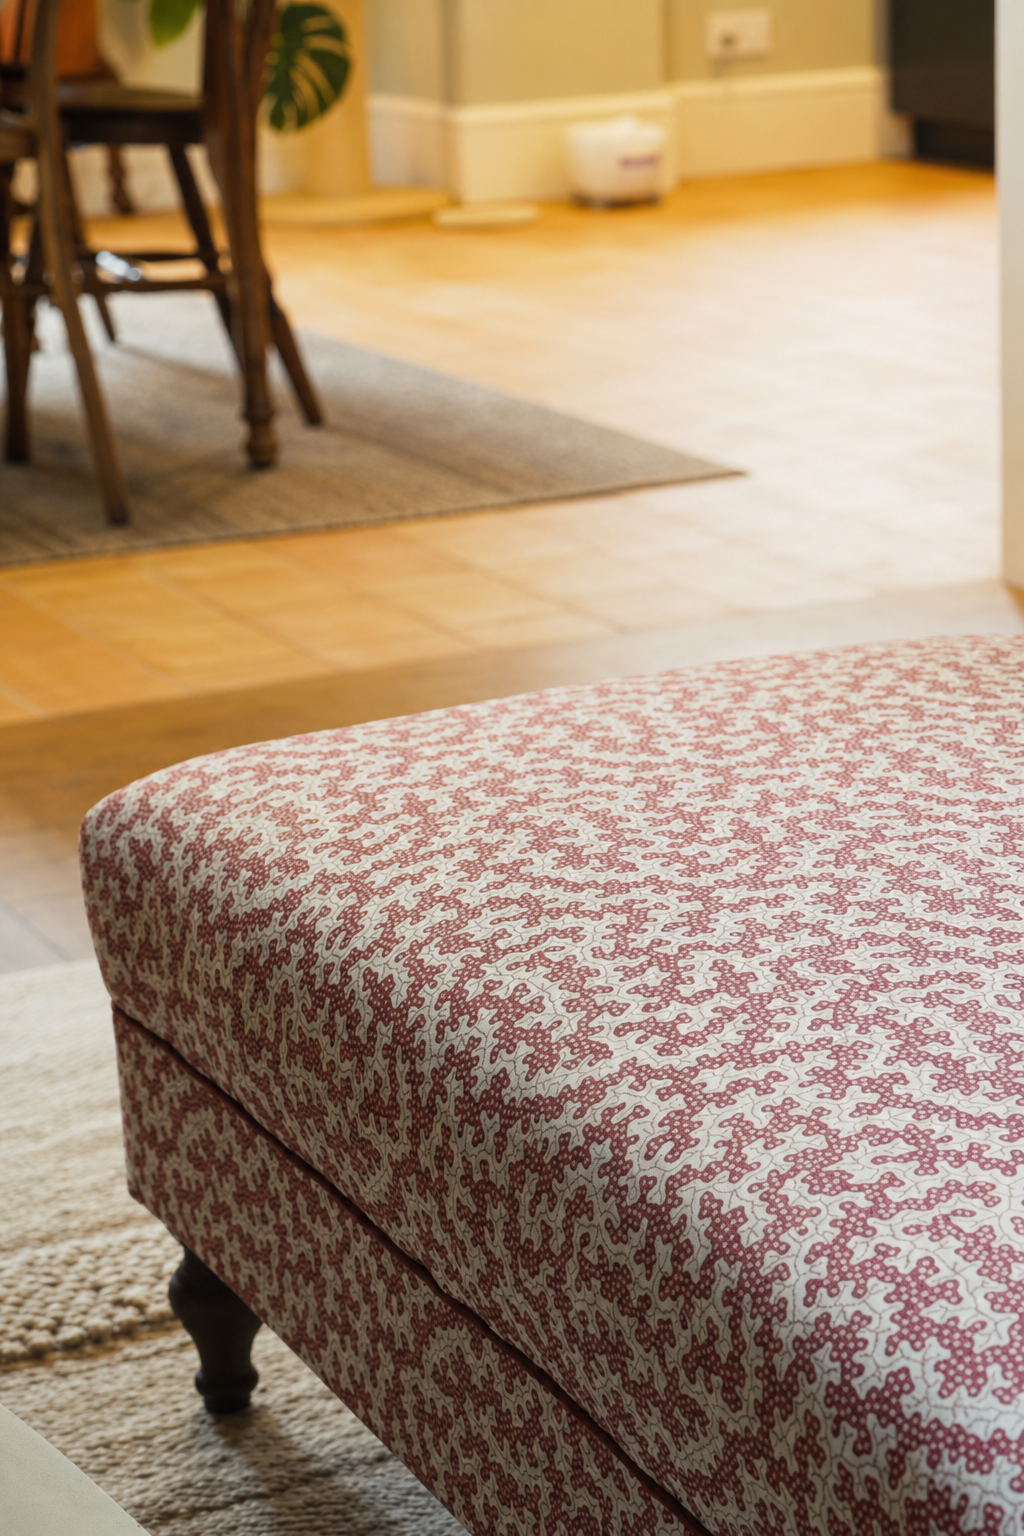
The finished footstool now lives in the living room, dressed in its patterned fabric and looking like it has always been there. We carried it in together, at which point it was declared light enough for one person after all.
The whole sweaty week, wonky top rail and all, is in the video at the top of this post. If you have opinions on the vanity wall or the footstool fabric, the comments are open, and we do read them. The next stud run happens as soon as the car is back on its feet.